Keen:Banner Modding Guide: Difference between revisions
CptTwinkie (talk | contribs) mNo edit summary |
CptTwinkie (talk | contribs) mNo edit summary |
||
| (2 intermediate revisions by the same user not shown) | |||
| Line 1: | Line 1: | ||
{{SEO|image_url=http://www.medievalengineerswiki.com/images/3/37/BannerMod11.jpg|description=Making your own banner mod for ME is pretty simple and straightforward. In this guide, we will explain to you the basics behind making a banner mod, and we will provide you an example mod to look at, containing one banner.}} | {{SEO|image_url=http://www.medievalengineerswiki.com/images/3/37/BannerMod11.jpg|description=Making your own banner mod for ME is pretty simple and straightforward. In this guide, we will explain to you the basics behind making a banner mod, and we will provide you an example mod to look at, containing one banner.}} | ||
{{: | {{Keen:OCH}} | ||
| Line 44: | Line 44: | ||
Next, paste in the following bit of text: | Next, paste in the following bit of text: | ||
< | <syntaxhighlight lang="xml" line> | ||
<?xml version="1.0" encoding="UTF-8"?> | <?xml version="1.0" encoding="UTF-8"?> | ||
<Definitions xmlns:xsi="http://www.w3.org/2001/XMLSchema-instance" xmlns:xsd="http://www.w3.org/2001/XMLSchema"> | <Definitions xmlns:xsi="http://www.w3.org/2001/XMLSchema-instance" xmlns:xsd="http://www.w3.org/2001/XMLSchema"> | ||
| Line 61: | Line 61: | ||
</Definitions> | </Definitions> | ||
</ | </syntaxhighlight> | ||
As you can see, there isn’t too much in there. The most important parts you will have to edit have been highlighted in this document. I will explain the lines. | As you can see, there isn’t too much in there. The most important parts you will have to edit have been highlighted in this document. I will explain the lines. | ||
Latest revision as of 19:57, 18 July 2022
 OFFICIAL CONTENT OFFICIAL CONTENT |
Making your own banner mod for ME is pretty simple and straightforward. In this guide, we will explain to you the basics behind making a banner mod, and we will provide you an example mod to look at, containing one banner.
| Version: | 0.4 |
Creating the folders
Using explorer go to the mod folder for Medieval Engineers. It can be found in %AppData%\Roaming\MedievalEngineers\Mods and it may or may not be empty.
Next, create a new folder, it can have any name you like. For this tutorial, we will call it “KeenExampleModBanner”.
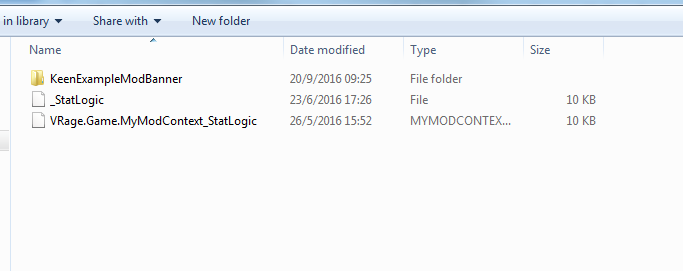
Inside this folder, create two new folders. One called “Data” and one called “Textures”. Then, inside “Textures”, create a folder called “Banners”, and inside “Banners” create two folders called “Patterns”, and “Symbols”.

Creating the images
Now that we have the folder structure planned out, it is time to make the images. Let’s go into the “Patterns” folder, and create some pictures.
For this tutorial I will be using Paint.NET, you can use most other image editing software as long as they support transparency. I am using Paint.NET because it is free software and available to everyone.
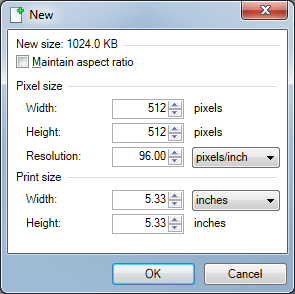
First, I create a new image and set the size to 512x512.
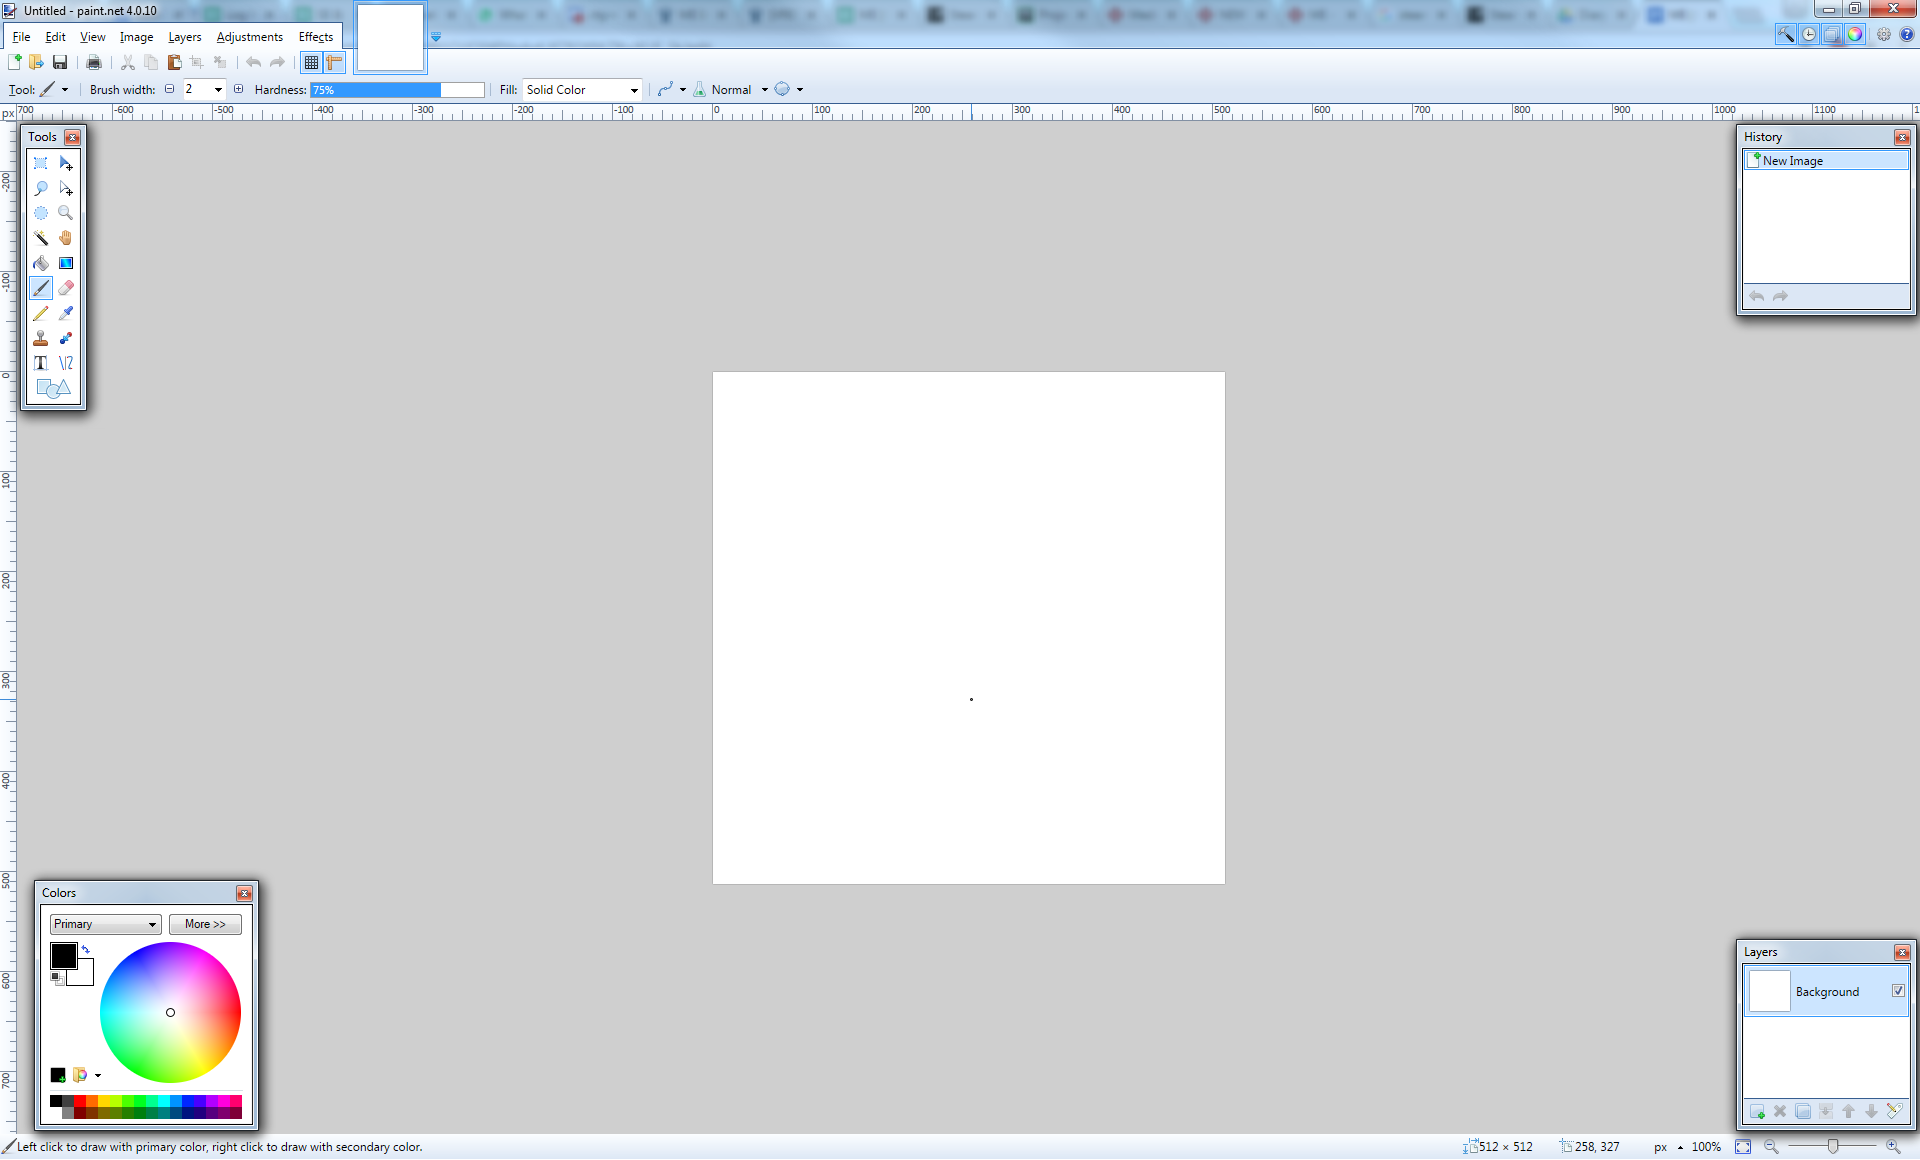
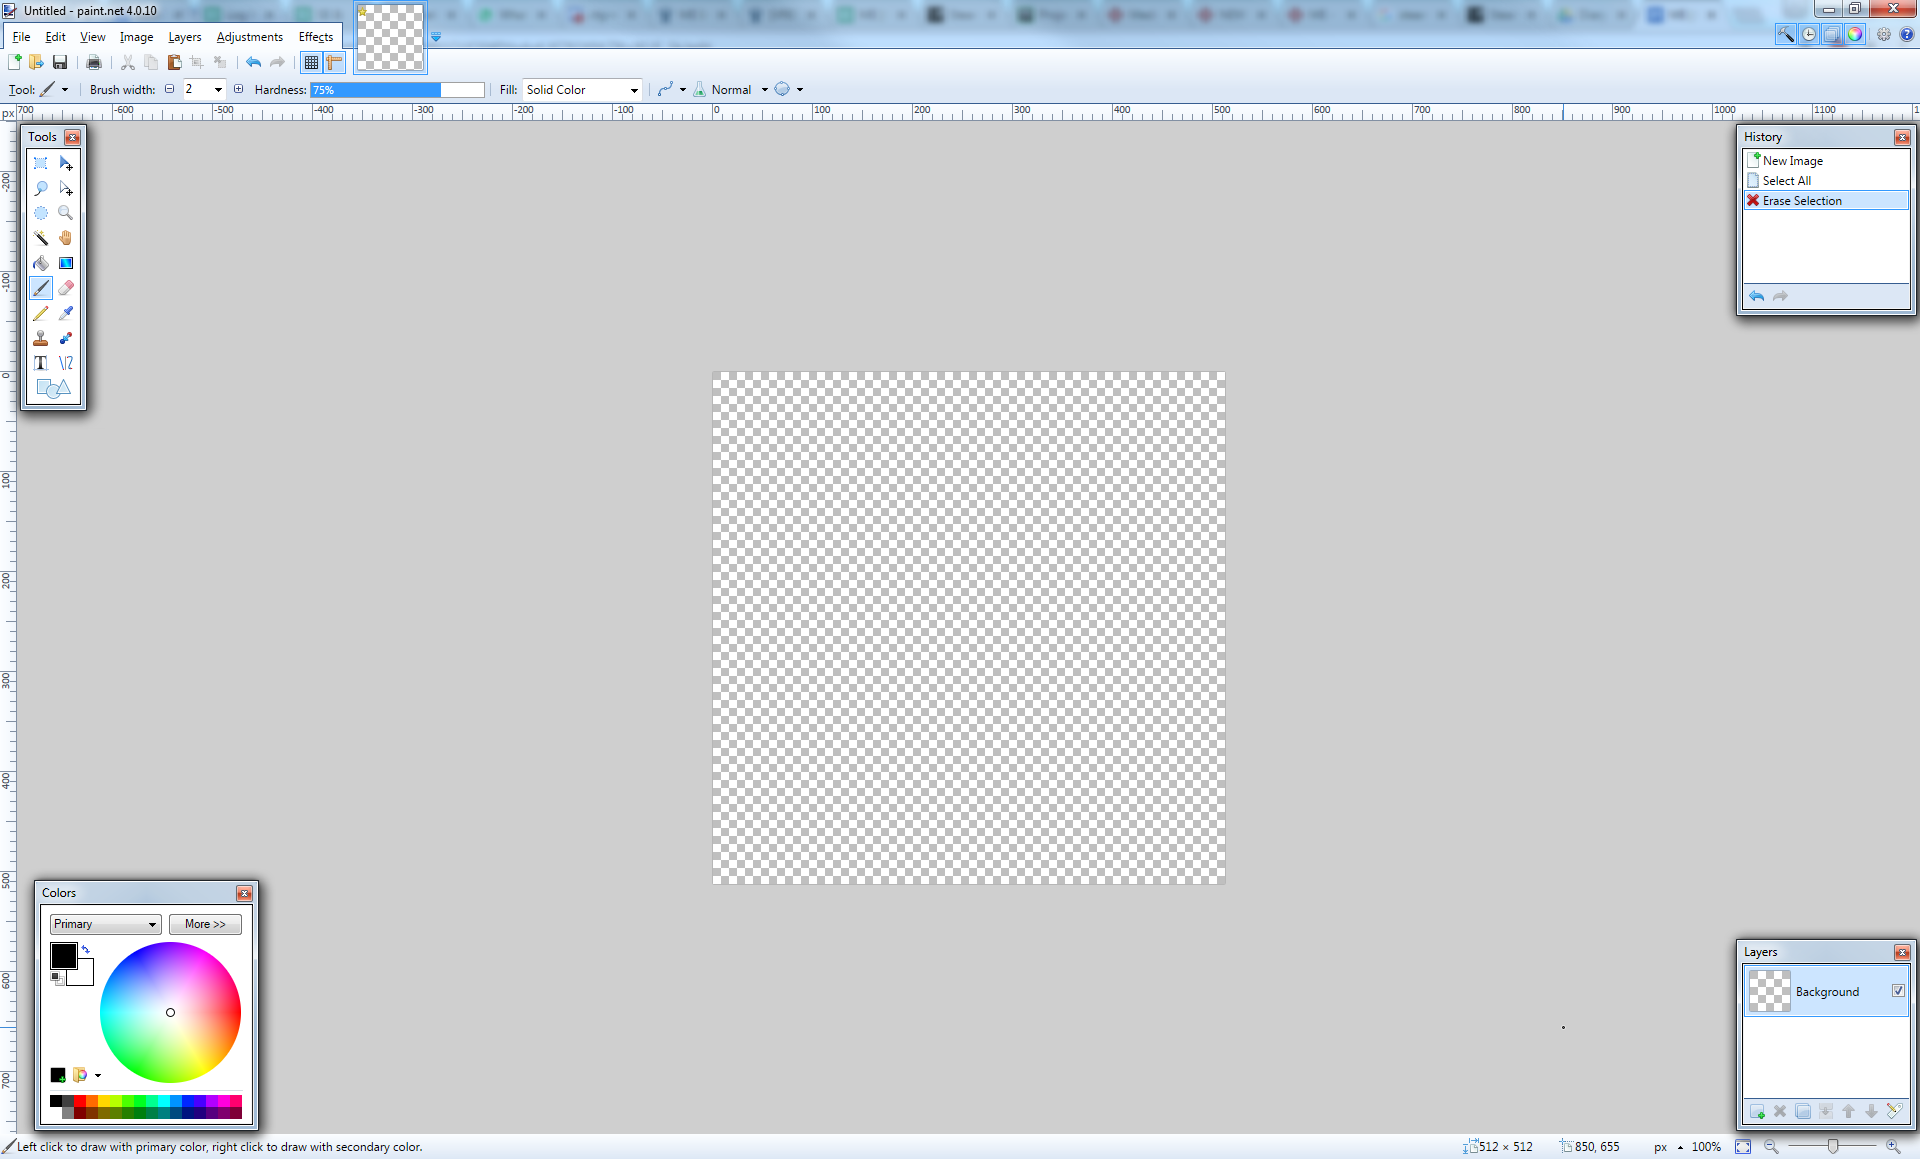
As you can see right now it is a white square. It’s kind of boring, and I want something slightly neater. So first, I must make sure the image is transparent, to do this I simply select all the pixels and delete them. Ctrl+A > Delete. It now looks like this:
Next, I will make sure the color picker is using white, and then using the shape tool I will draw a five point star in this image.
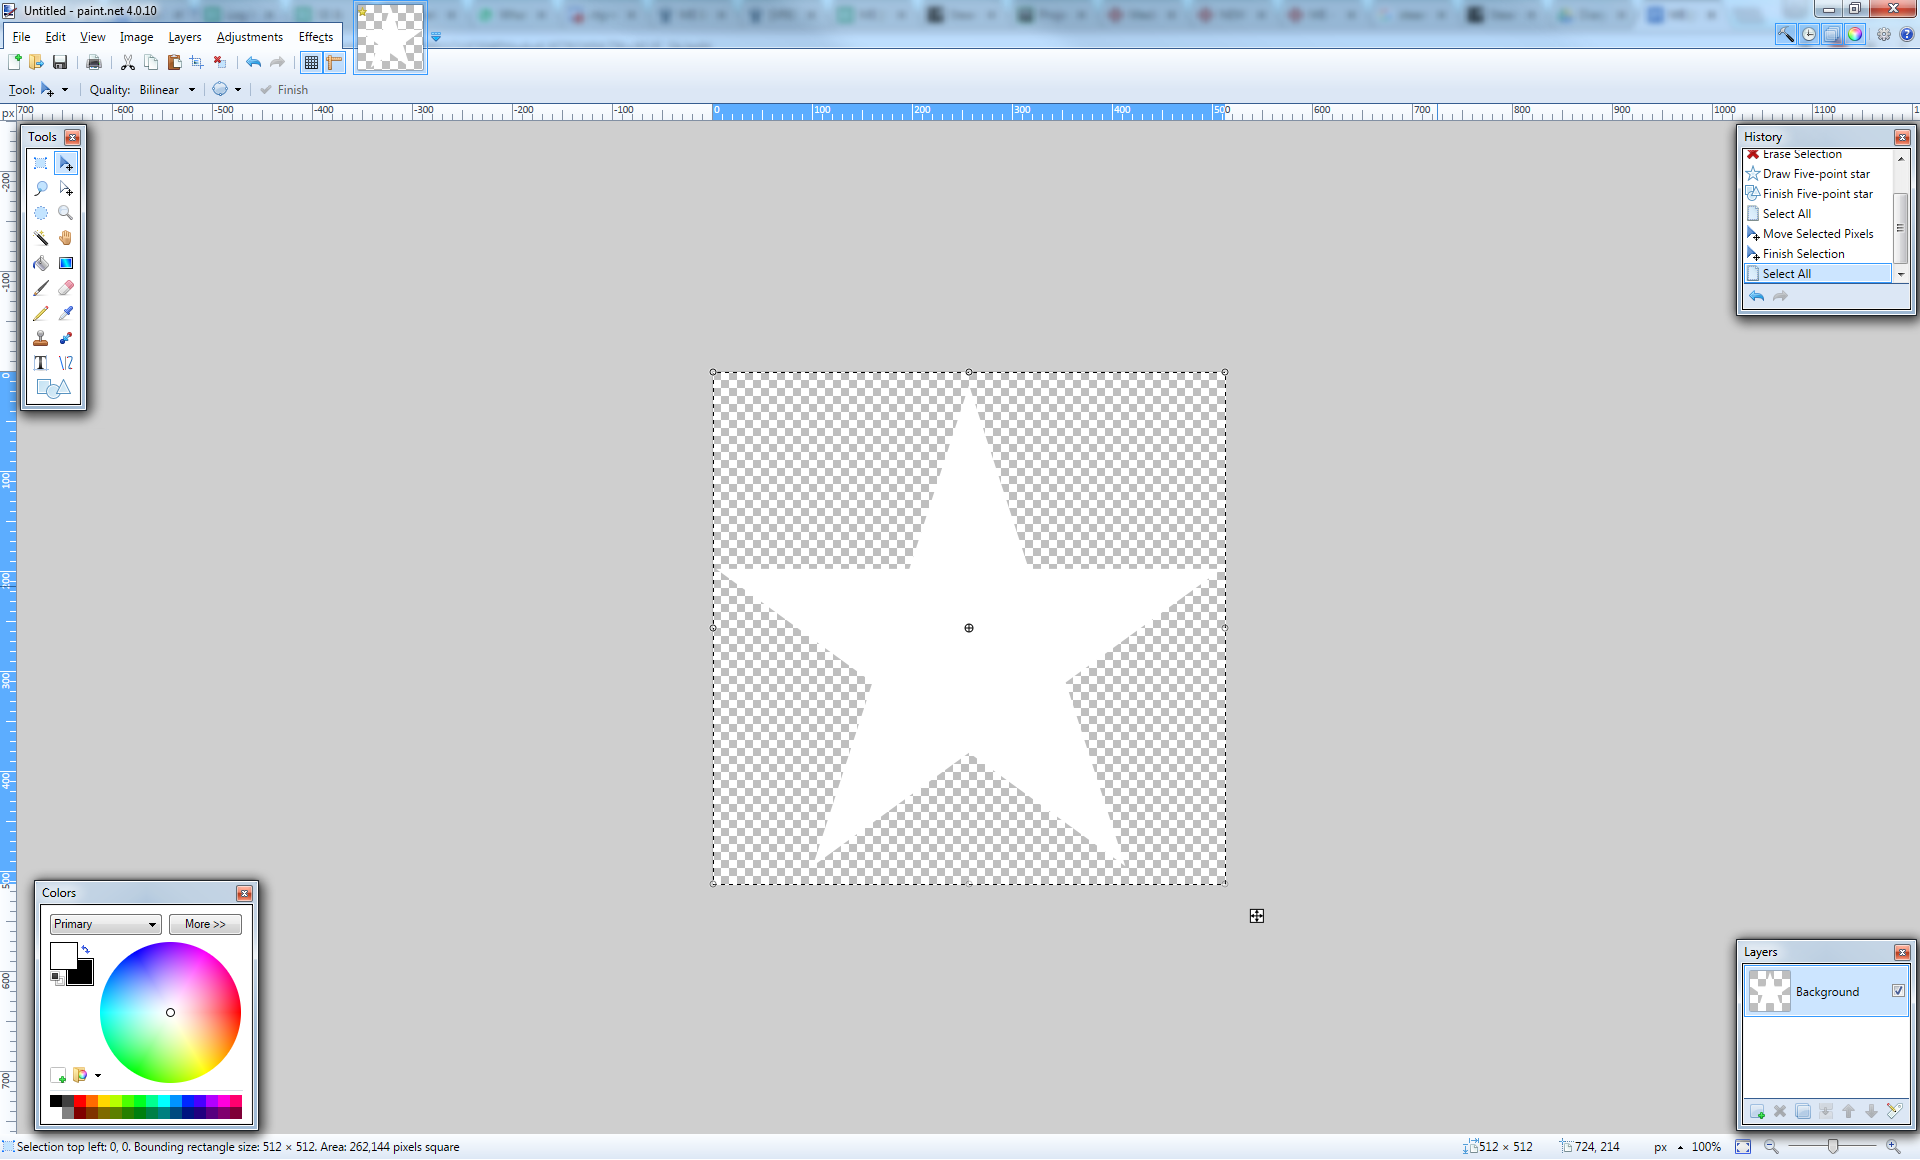
I save this file in the Patterns folder of my mod, as a PNG, and I call it Star. (Pretty imaginative right?)

Great, that covers our pattern. Now we need to make our symbol, because without a symbol the banner is only half complete. The symbol image follows the exact same rules as the pattern image, so most of the steps we took to create the star are identical. The only difference now is that instead of putting a star in the transparent canvas, I will put text:
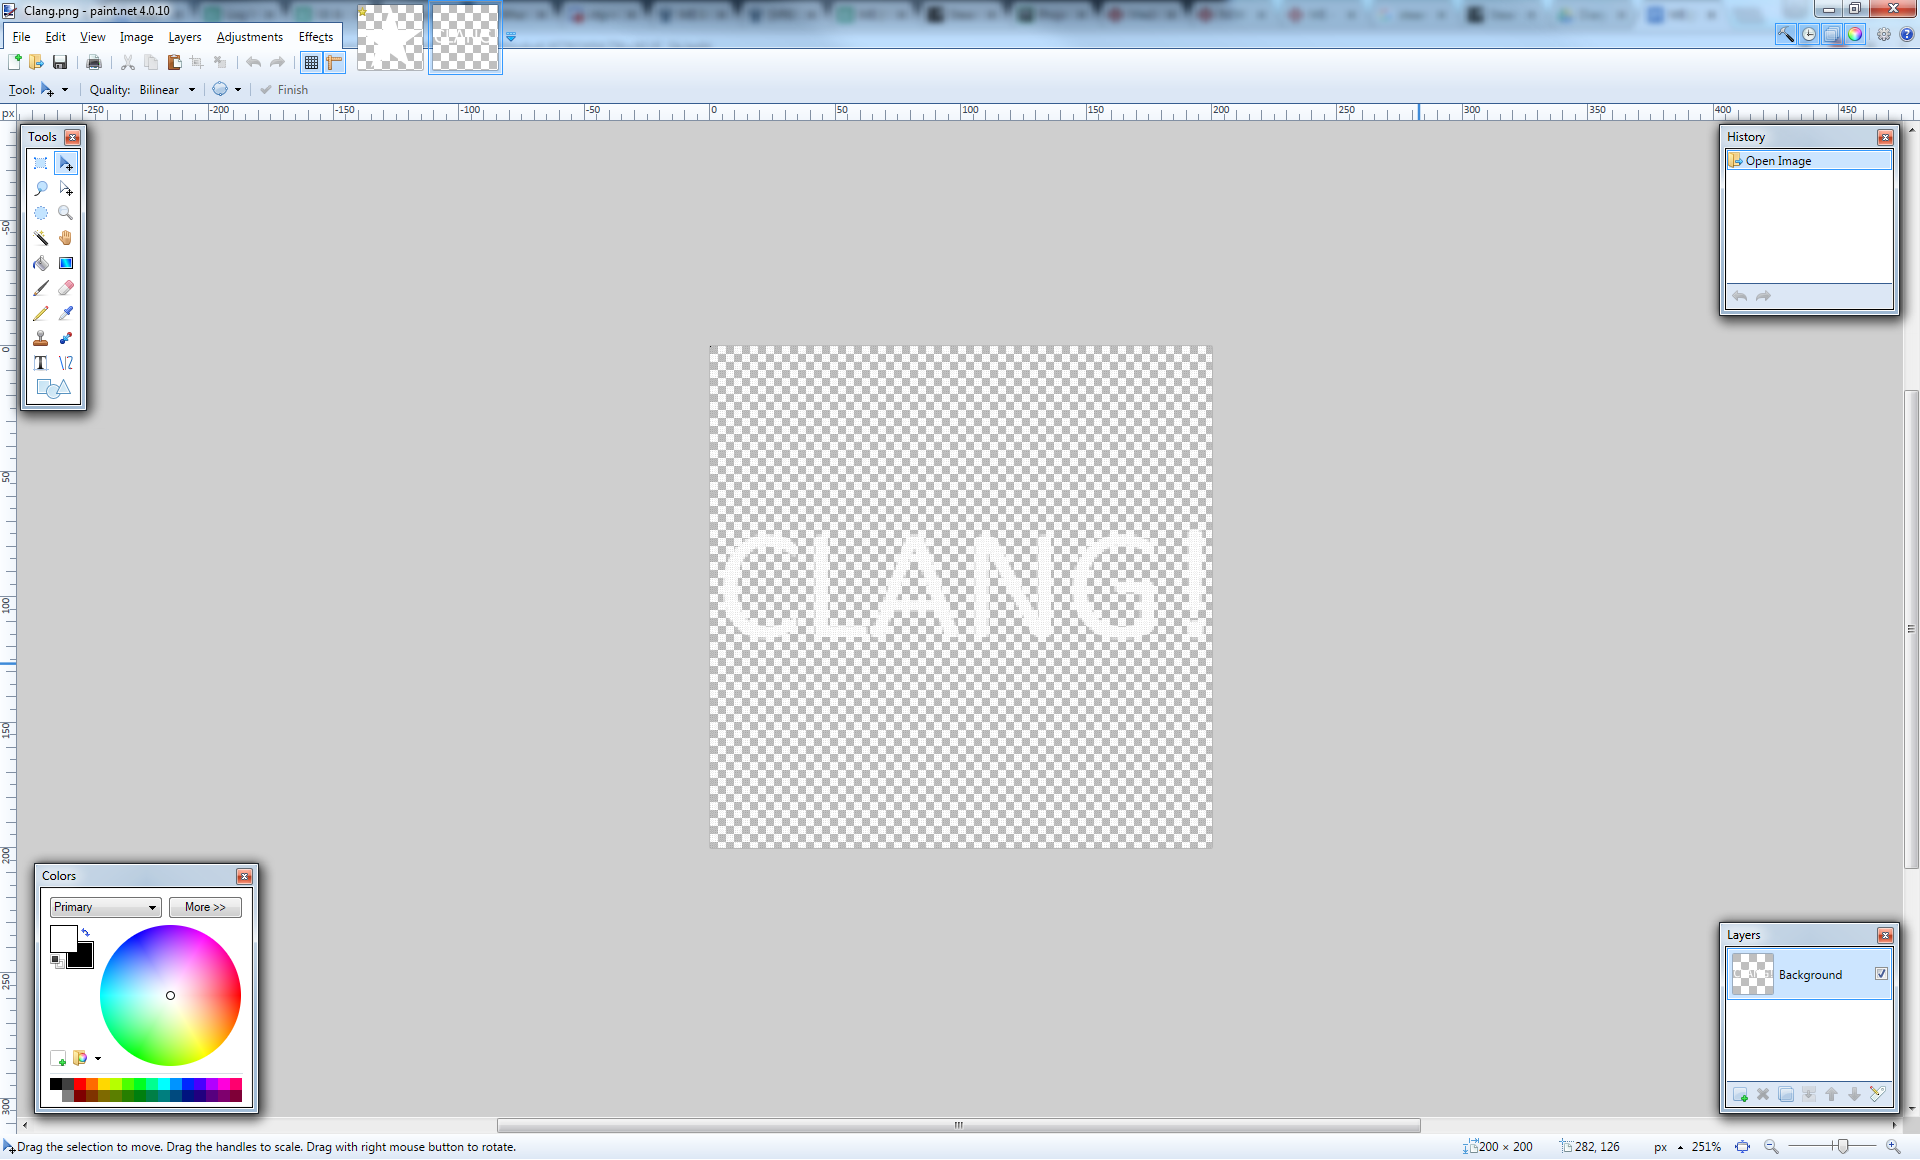
We save this file in the Symbols folder.

Great, with the images done, we move on to the third step.
Create the banner definition
Go to the Data folder in our example mod folder, and create a new file. Call this file Banners.sbc. Your Windows may be hiding file extensions from you, if this happens you can easily change this setting, Google search for “windows hiding file extensions”, or simply visit https://support.microsoft.com/en-us/kb/865219 and follow the instructions.
Open this file with a text editor. You can use any text editor you like - I personally like to use Notepad++, but Windows’ default notepad works just fine.
Next, paste in the following bit of text:
<?xml version="1.0" encoding="UTF-8"?>
<Definitions xmlns:xsi="http://www.w3.org/2001/XMLSchema-instance" xmlns:xsd="http://www.w3.org/2001/XMLSchema">

  <Definition xsi:type="MyObjectBuilder_BannerPatternsDefinition">
    <Id Type="MyObjectBuilder_BannerPatternsDefinition" Subtype="Keen_ExampleMod_BannerPatterns" />
    <LayerIndex>1</LayerIndex>
    <Pattern Name="KeenExampleMod_Banner_Star" Path="Textures\Banners\Patterns\Star.png" Description="A nice looking star." />
  </Definition>

  <Definition xsi:type="MyObjectBuilder_BannerPatternsDefinition">
    <Id Type="MyObjectBuilder_BannerPatternsDefinition" Subtype="Keen_ExampleMod_BannerSymbols" />
    <LayerIndex>2</LayerIndex>
    <Pattern Name="KeenExampleMod_Banner_Clang" Path="Textures\Banners\Symbols\Clang.png" Description="Ode to Clang!" />
  </Definition>

</Definitions>
As you can see, there isn’t too much in there. The most important parts you will have to edit have been highlighted in this document. I will explain the lines.
First are the SubtypeIds, as you can see there’s two of them in this bit of text. They look like this:
<SubtypeId>Keen_ExampleMod_BannerPatterns</SubtypeId>
<SubtypeId>Keen_ExampleMod_BannerSymbols</SubtypeId>
It is good practice to prefix your subtypes with your own name first, this will prevent naming collisions when you are loading multiple mods. These identify your mod definition as a unique entry.
Next up is defining the images you added. In each definition group you will see a <Pattern ../> line, this is the actual image entry. It has a few attributes, “Name”, “Path” and “Description”.
<Pattern Name="KeenExampleMod_Banner_Star" Path="Textures\Banners\Patterns\Star.png" Description="A nice looking star." />
Similar to the SubtypeId, it is good practice to give the Name a custom prefix. Banners in the game are saved by their name so to prevent collisions with other banner mods it is a good idea to prefix them with your name so no one else accidentally names their banner the same way.
Next, the Path attribute contains the relative path in our recently made folder structure and points to the image we made.
Finally, the Description attribute is the mouse-over tooltip that appears in the banner editor’s interface. You can put a nice little text in there explaining the history behind your image, or just a funny text if you like.
As you can see, both the pattern and the symbol follow the same logic, their only difference being the layer index. Right now we only support two layers, though the data already supports more.
Load your banner and behold the pretty
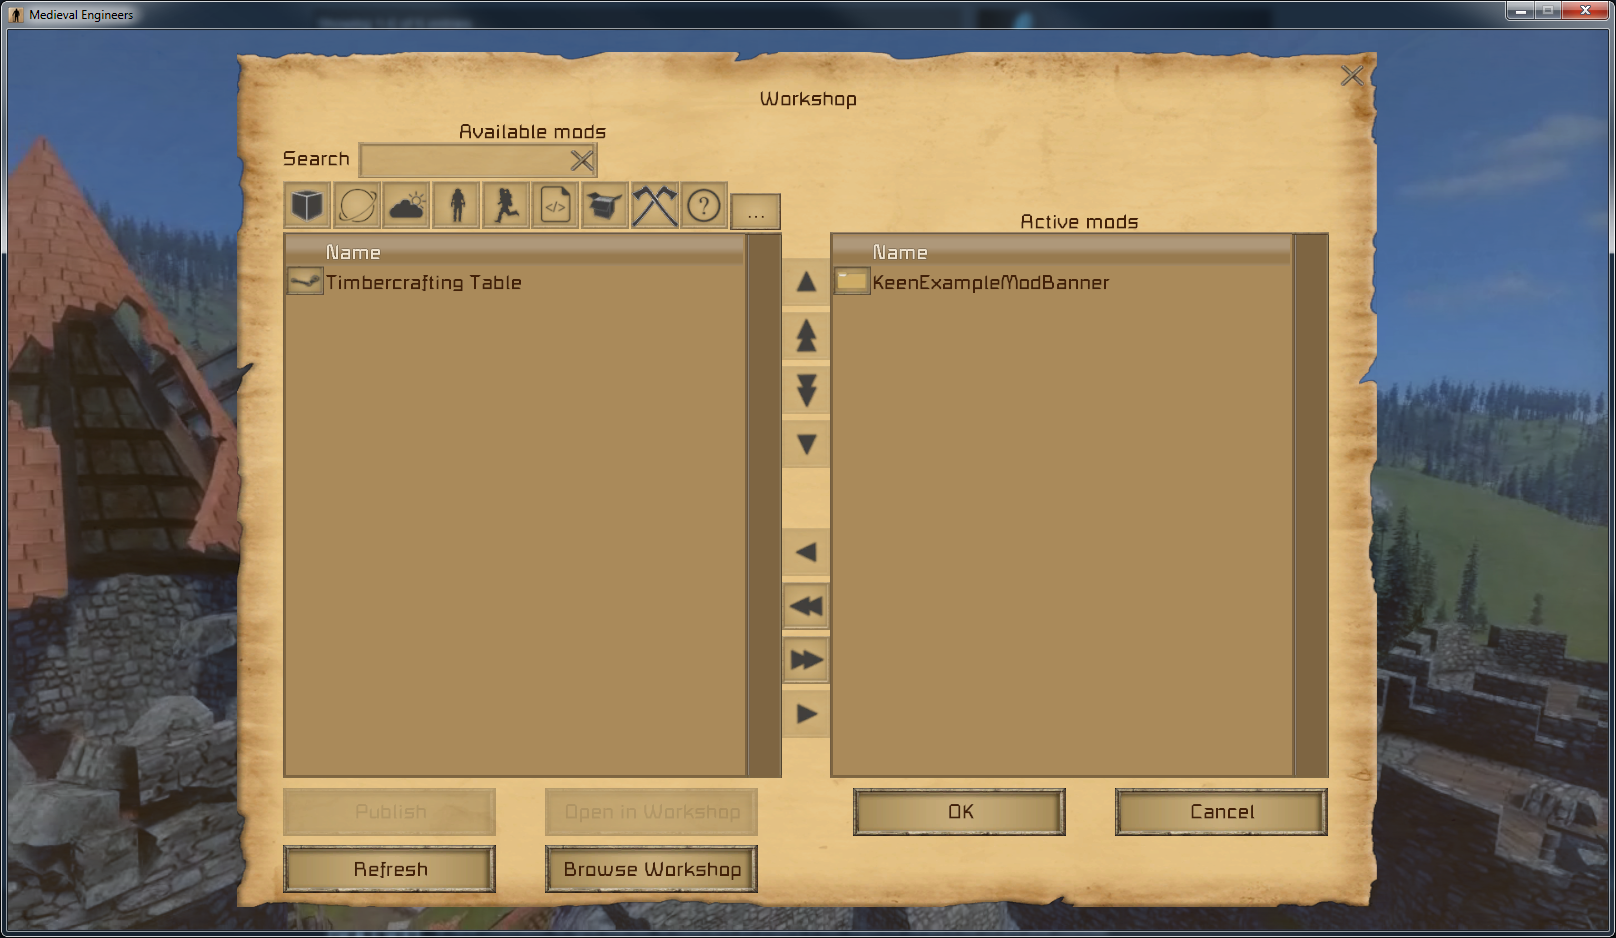
That was it! Your mod is done! :) All that’s left to do is start up Medieval Engineers, add your local mod to your game:
Make sure your Online Mode is set to Offline:
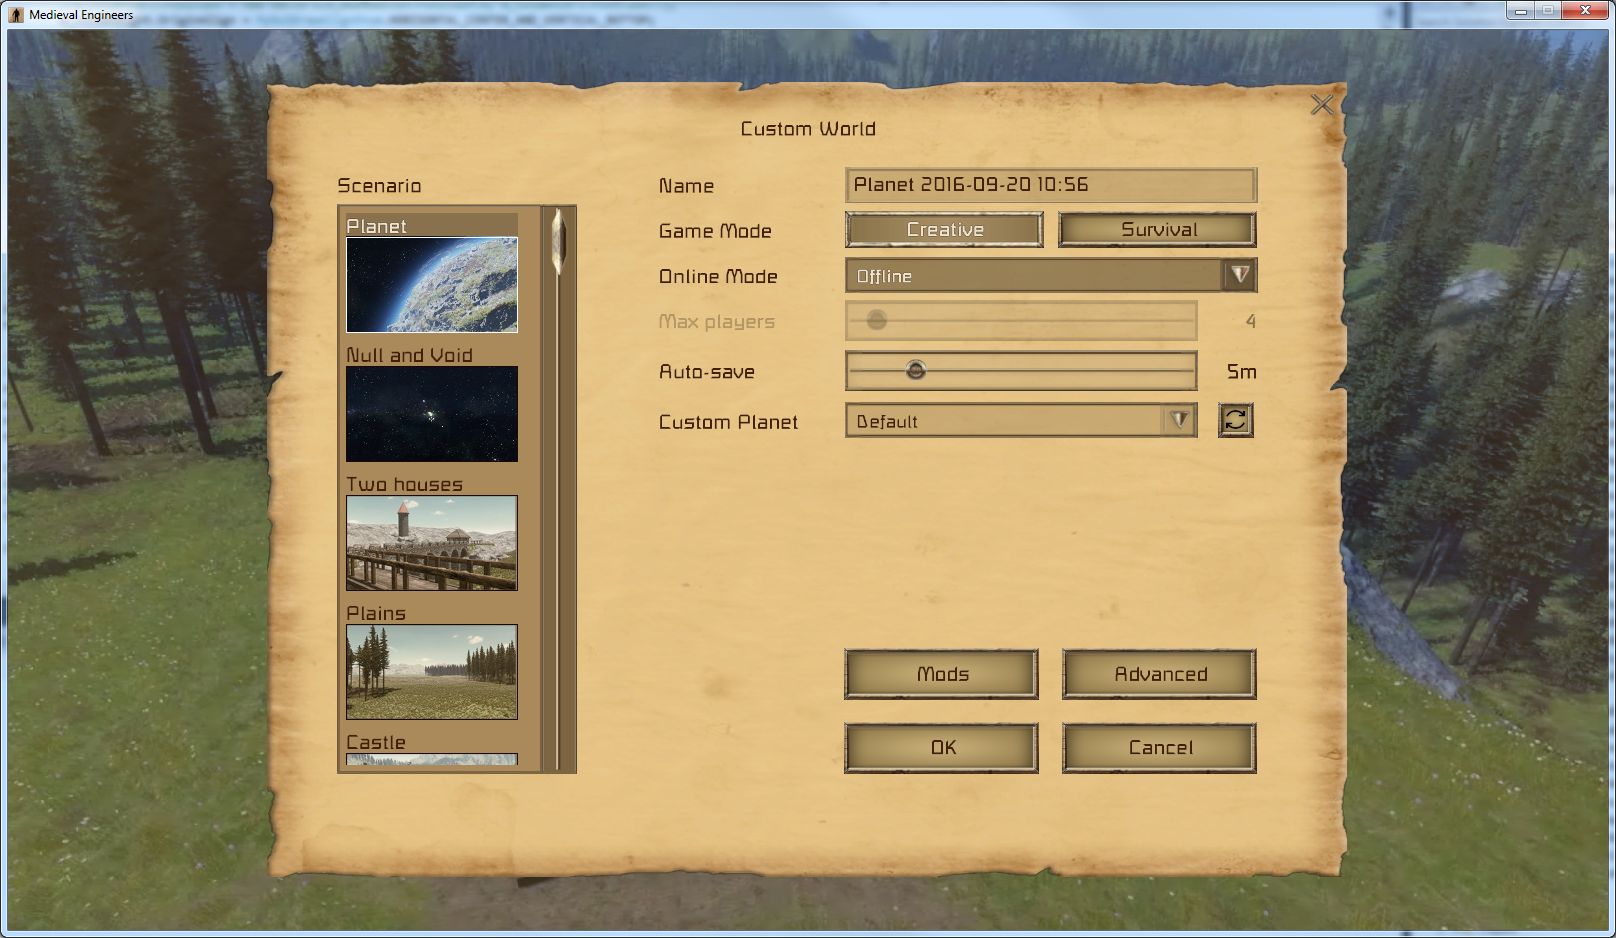
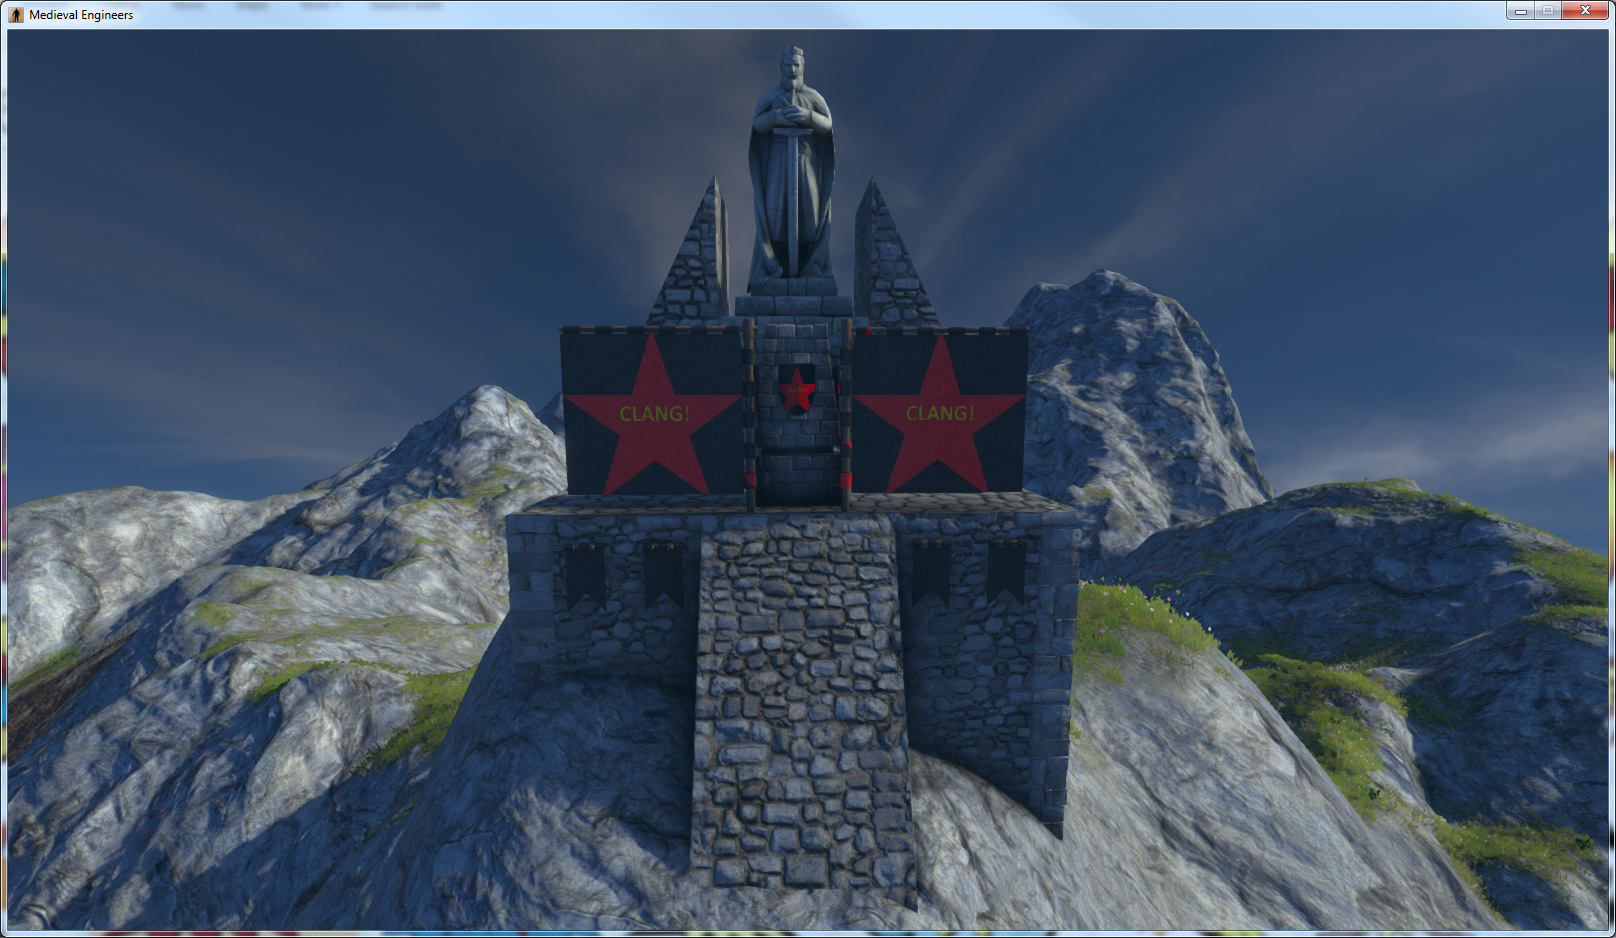
Press OK and start your game. Then, using the banner editor, you can select the new banner, build some blocks, place flags, and:
Upload your mod to the workshop
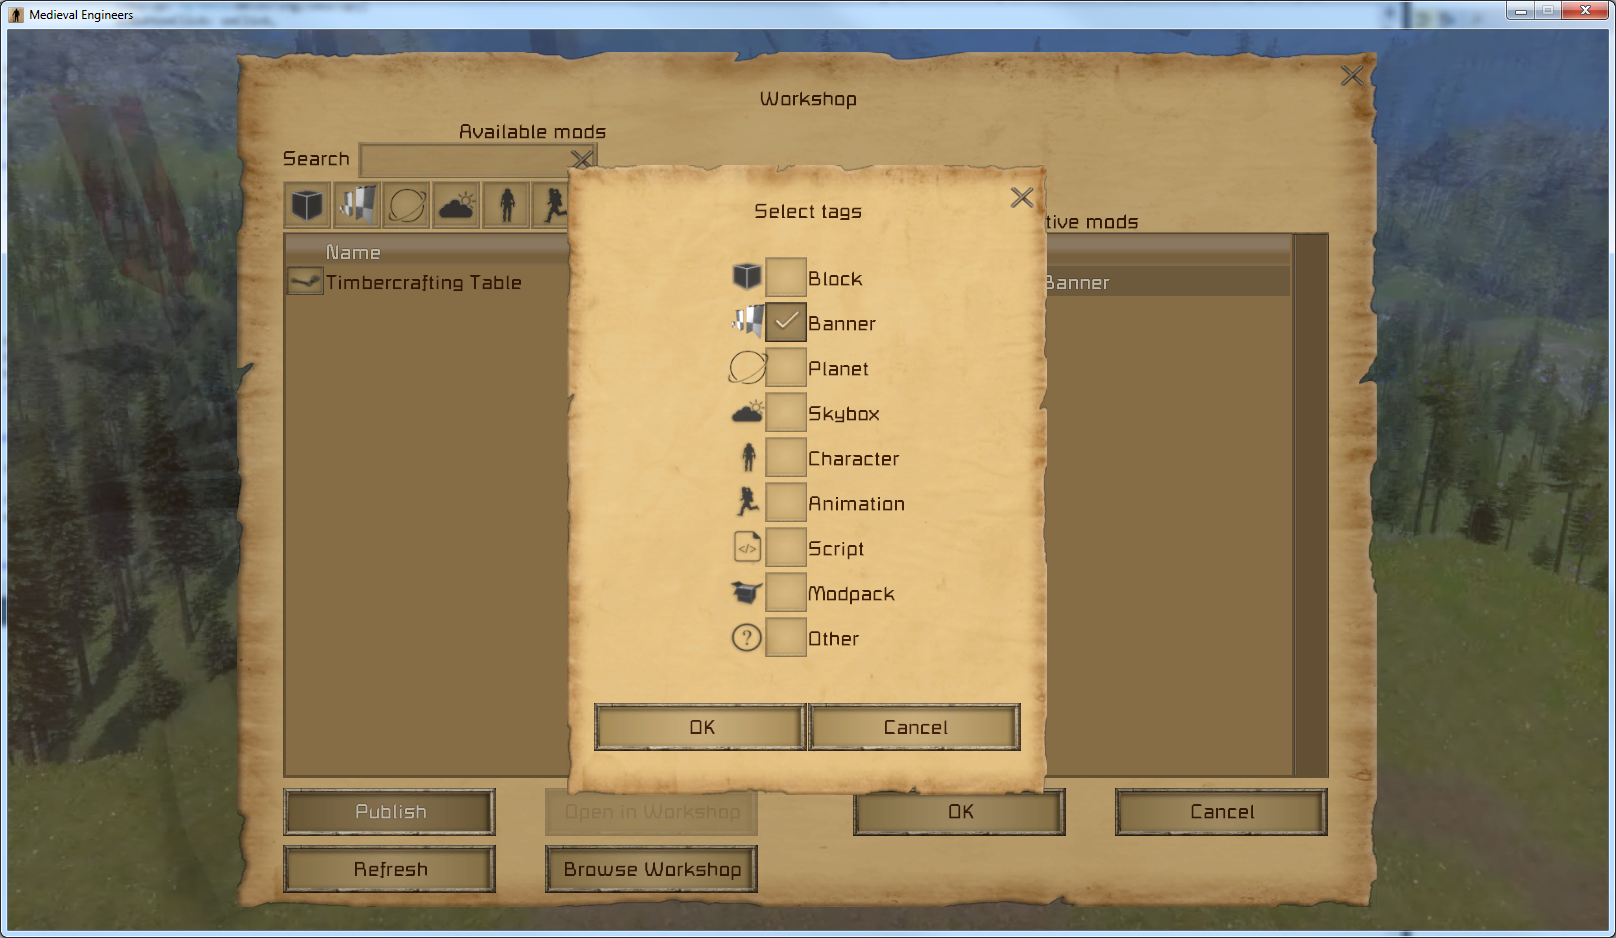
The final step is to upload your banner mod to the workshop so that everyone can use it. When uploading your banner to the workshop make sure you tag it as a banner so that everyone will be able to find it. :)
Conclusion
That’s all for this guide, we hope it helps you make your own banner mods and we are looking forward to seeing what you guys come up with!