Keen:Code Example - Smart Shovel (Part 1): Difference between revisions
CptTwinkie (talk | contribs) mNo edit summary |
CptTwinkie (talk | contribs) mNo edit summary |
||
| Line 1: | Line 1: | ||
{{SEO|image_url=http://www.medievalengineerswiki.com/images/e/e6/KEEN_COMPASS_ONLY.png|description=Hello engineers, in this two-part tutorial, we will go through the basics of making a simple mod that includes some of the new functionality added in 0.5, like custom data classes and our new tool system.}} | {{SEO|image_url=http://www.medievalengineerswiki.com/images/e/e6/KEEN_COMPASS_ONLY.png|description=Hello engineers, in this two-part tutorial, we will go through the basics of making a simple mod that includes some of the new functionality added in 0.5, like custom data classes and our new tool system.}} | ||
{{: | {{Keen:OCH}} | ||
Revision as of 10:53, 29 June 2018
 OFFICIAL CONTENT OFFICIAL CONTENT |
Hello engineers,
In this two-part tutorial, we will go through the basics of making a simple mod that includes some of the new functionality added in 0.5, like custom data classes and our new tool system. We will assume a basic knowledge of C#, though we will try to make it as easy as possible.
We will be making a modification to the shovel. We are going to add a new key to it that the user can rebind in the Bindings screen, and when they press it the shovel will tell you how far you are from the center of the planet, in meters.
| Version: | 0.5 |
Getting Started
Tools required for this mod:
- Some text editor, like notepad or notepad++ will suffice. If you want to use more advanced features such as code completion, you can use Visual Studio.
- A cup of coffee/tea or some other beverage of choice. ;)
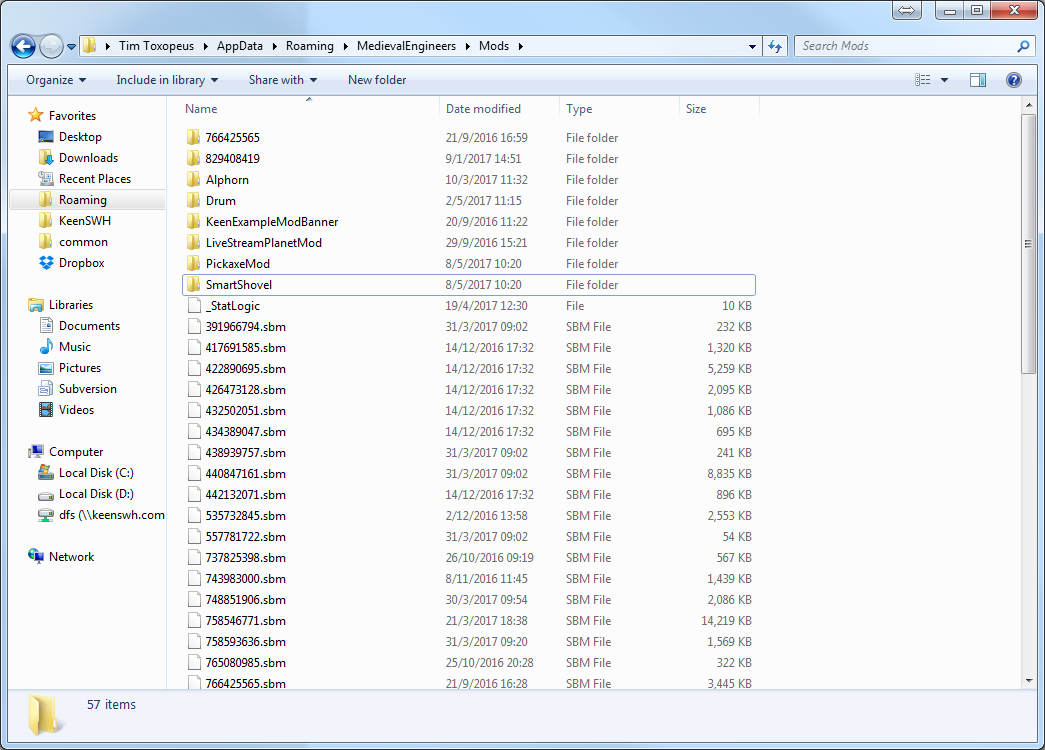
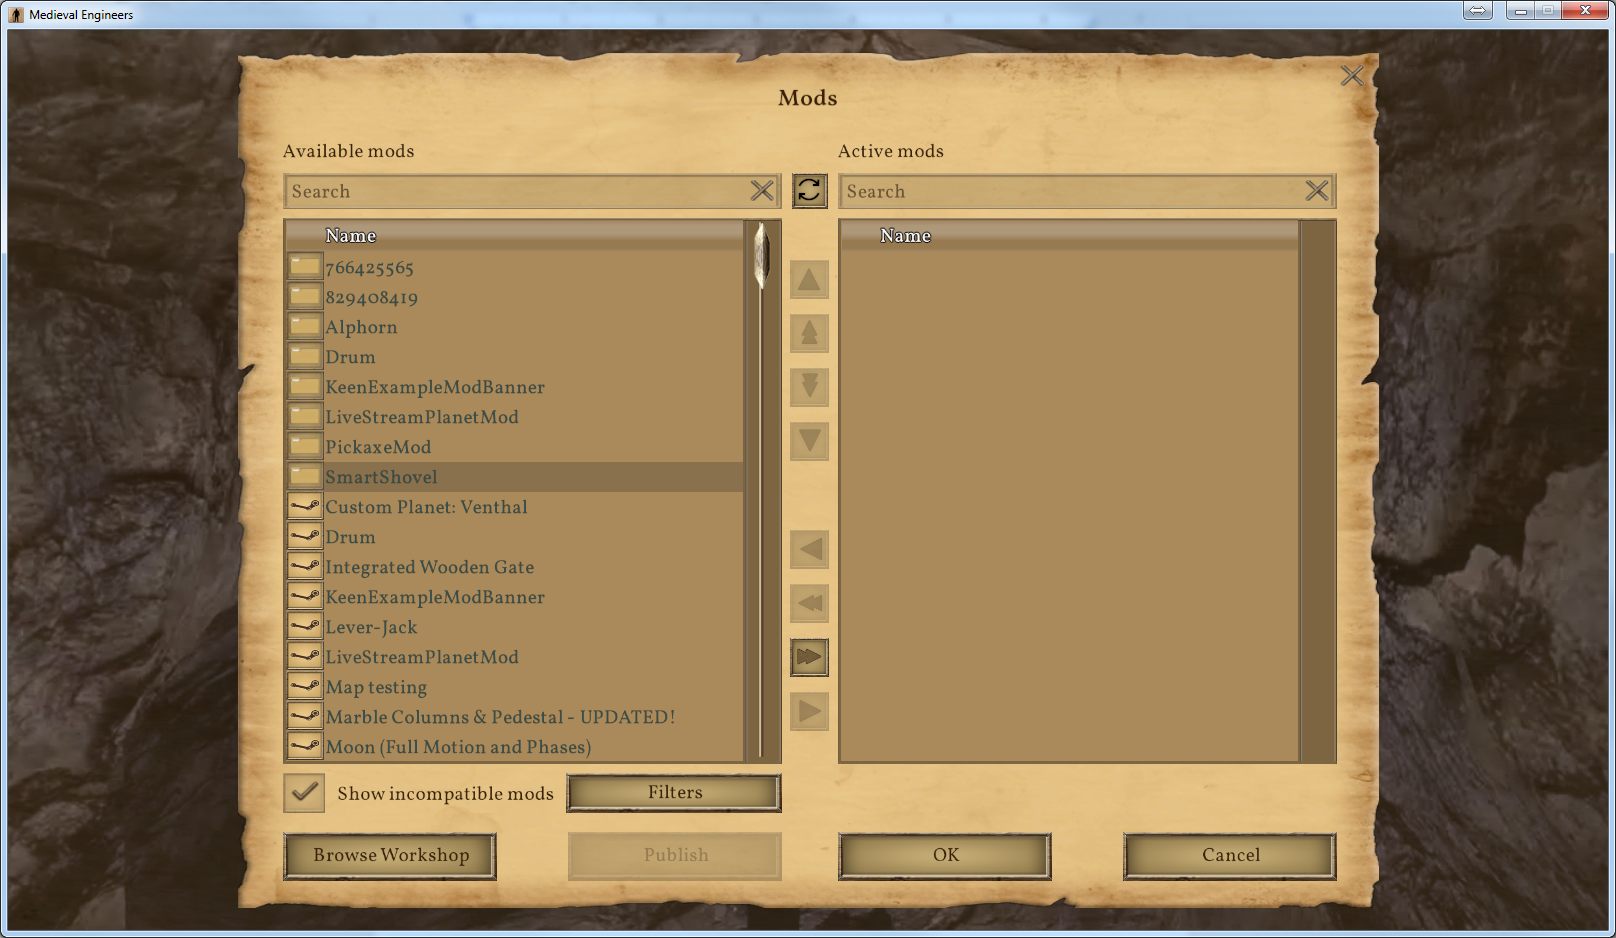
Creating A New Mod


Adding A New Key
Exit the game, and go into the Data folder. First, we will set up the control binding.
In your Data folder, create a file called Controls.sbc and put the following snippet of XML in there:
<?xml version="1.0"?>
<Definitions xmlns:xsi="http://www.w3.org/2001/XMLSchema-instance" xmlns:xsd="http://www.w3.org/2001/XMLSchema">

  <Definition xsi:type="MyObjectBuilder_ControlDefinition">
    <Id Type="MyObjectBuilder_ControlDefinition" Subtype="ToggleShovel"/>
    <DisplayName>Toggle Shovel</DisplayName>
    <Description>Make the magic shovel tell you your distance to the center of the planet.</Description>
    <Category>Tools</Category>
    <Primary Key="Z" />
  </Definition>

</Definitions>
The control definition format is pretty simple. DisplayName is the text that is used in the keybindings screen to show you the control, Description is the tooltip that shows up when you mouse over it, Category tells it which category to put it in, and Primary (and Secondary) describes the default key used. We bound it to Z, but you can change it to another key if you like. :-) We recommend you make your own category, so players won't confuse your custom key binds with our vanilla ones.
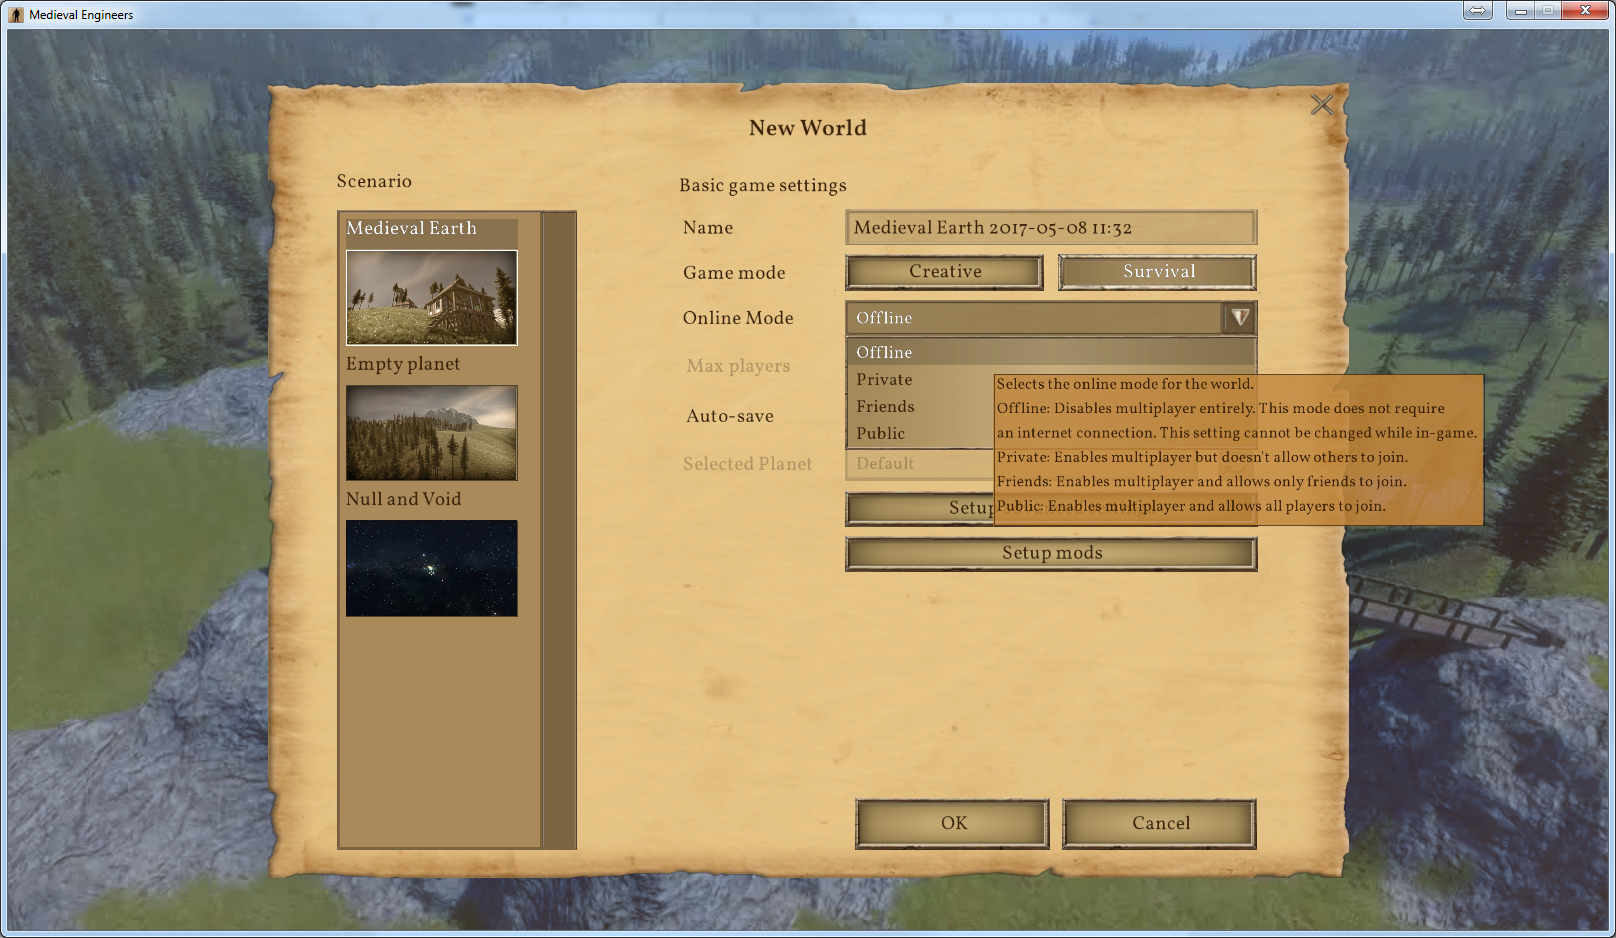
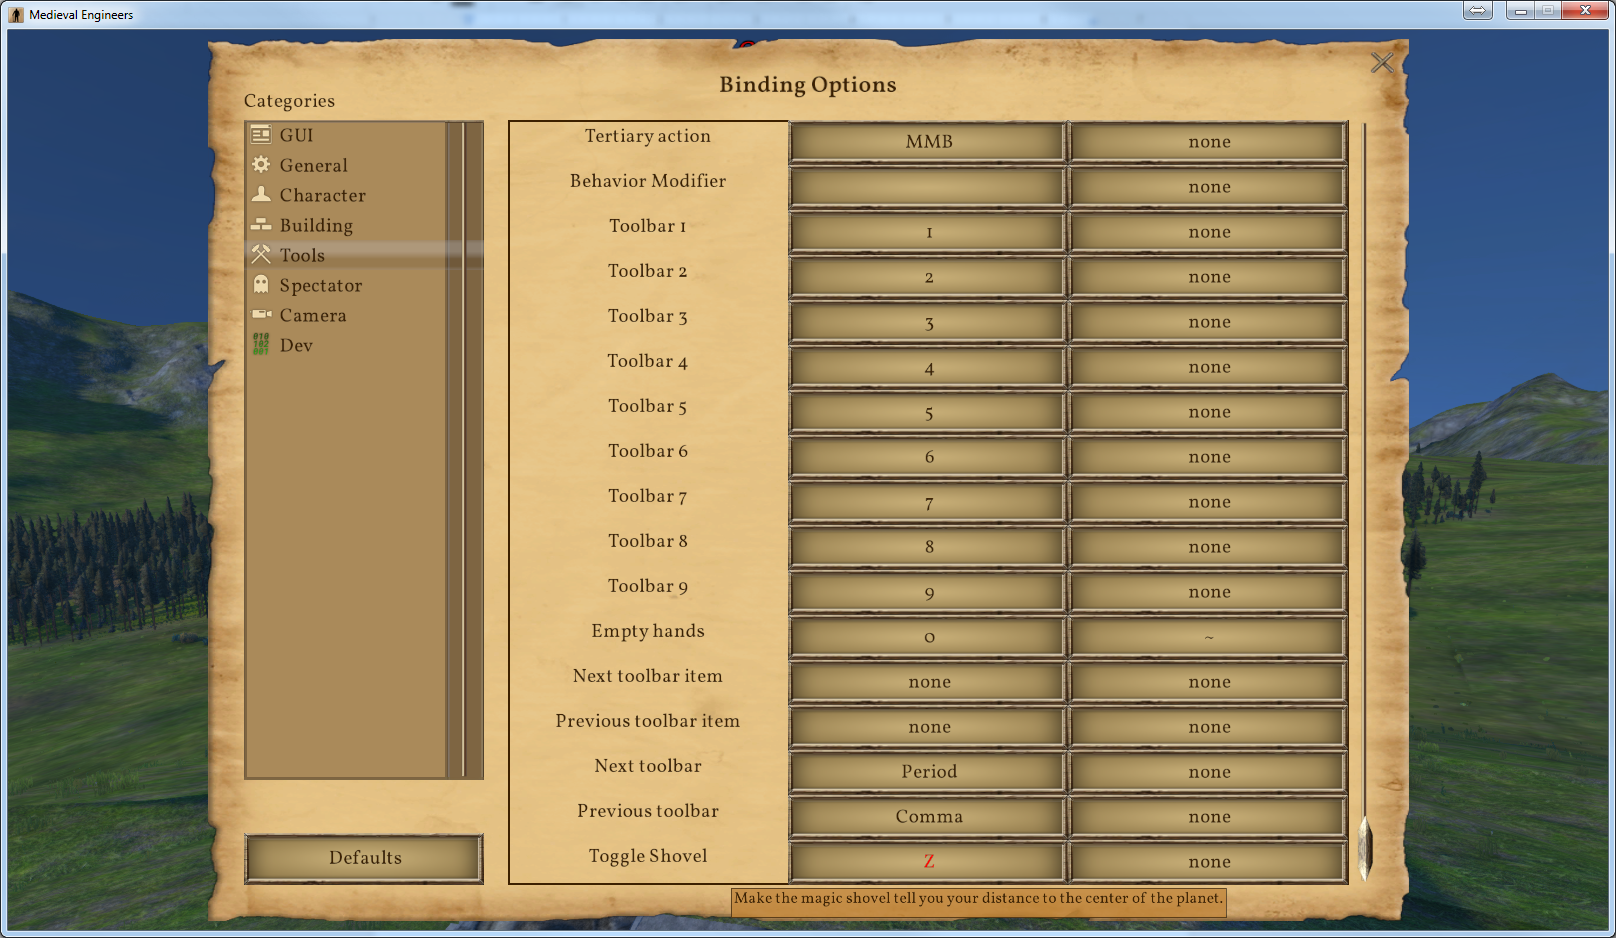
Now load up the game, click on Continue to load your world containing your mod*, and if you press Escape and go to Options -> Bindings, and look in the Tools category, you should see the new keybind there!
*Modded keybindings are not available before loading the modded world.

You can rebind it and everything, great! Quit the game and return to Windows.
That takes care of the first step. Now, we get to a slightly harder task, creating object builders (the name we use for our data classes) and the behavior component itself. It’s going to get technical now!
Object Builders
Go into the Data/Scripts folder, and create 3 files:
- MyObjectBuilder_SmartDiggerToolBehaviorDefinition.cs
- MySmartDiggerToolBehaviorDefinition.cs
- MySmartDiggerToolBehavior.cs
These three files will contain your code, here are the contents of each file. These files are described further in this guide:
using ObjectBuilders.Definitions.Tools;
using System.Xml.Serialization;
using VRage.ObjectBuilders;
using VRage.ObjectBuilders.Definitions.Equipment;

namespace KeenExample12345678901234567.SmartDigger
{
    // The MyObjectBuilderDefinition attribute specifies that this is an object builder.
    [MyObjectBuilderDefinition]
    // The XmlSerializerAssembly attribute informs the code which serializer to use.
    [XmlSerializerAssembly("MedievalEngineers.ObjectBuilders.XmlSerializers")]
    public class MyObjectBuilder_SmartDiggerToolBehaviorDefinition : MyObjectBuilder_DiggerToolBehaviorDefinition
    {
    }
}
using System;
using Medieval.Definitions.Tools;
using ObjectBuilders.Definitions.Tools;
using Sandbox.Definitions.Equipment;
using VRage.Game;
using VRage.Game.Definitions;
using VRage.Utils;

namespace KeenExample12345678901234567.SmartDigger
{
    // The MyDefinitionType attribute links your definition to its object builder. It must have the same name as the object builder class.
	[MyDefinitionType(typeof(MyObjectBuilder_SmartDiggerToolBehaviorDefinition))]
    public class MySmartDiggerToolBehaviorDefinition : MyDiggerToolBehaviorDefinition
    {
        // Called when the game loads up and creates definitions out of all the SBC files.
        protected override void Init(MyObjectBuilder_DefinitionBase builder)
        {
            base.Init(builder);

            var ob = (MyObjectBuilder_SmartDiggerToolBehaviorDefinition) builder;
        }
    }
}
using Medieval.Definitions.Tools;
using Medieval.GameSystems.Tools;
using ObjectBuilders.Definitions.Tools;
using Sandbox.Definitions.Equipment;
using Sandbox.Game.Entities;
using Sandbox.Game.EntityComponents.Character;
using Sandbox.Game.Gui;
using Sandbox.Game.Inventory;
using VRage.Components;
using VRage.Game.Entity;
using VRage.Game.Input;
using VRage.Input.Input;
using VRage.Network;
using VRage.Systems;
using VRage.Utils;
using VRageMath;

namespace KeenExample12345678901234567.SmartDigger
{
    // The MyHandItemBehavior attribute links the object builder to the behavior code.
    [MyHandItemBehavior(typeof(MyObjectBuilder_SmartDiggerToolBehaviorDefinition))]
    // The StaticEventOwner attribute is for multiplayer purposes.
    [StaticEventOwner]
    public class MySmartDiggerToolBehavior : MyDiggerToolBehavior
    {
        // Definition of the tool.
        private MySmartDiggerToolBehaviorDefinition m_definition = null;

        // Init gets called with the definition. This is called when the tool is first initialized.
        public override void Init(MyEntity holder, MyHandItem item, MyHandItemBehaviorDefinition definition)
        {
            base.Init(holder, item, definition);

            m_definition = (MySmartDiggerToolBehaviorDefinition)definition;
        }
    }
}
Phew, that was a lot of copy-pasting. If you did it right, you now have three files with some content. Now, let's quickly cover what the code in each of these files does.
First, in the MyObjectBuilder_SmartDiggerToolBehaviorDefinition.cs file, we specify the Object Builder. An Object Builder is the class that receives the data out of the SBC files, and loads it into memory.
Then, in the MySmartDiggerToolBehaviorDefinition.cs file, we create the Definition class. A Definition class receives an Object Builder and stores it in a code-friendly way. So when you load data from a file, it is in primitive data form (basic variables), but the code may require special classes instead. The definition is there to transform these values.
Finally, in MySmartDiggerToolBehavior.cs we have the actual implementation of the tool behavior. It receives the definition, and it performs the actual game logic here.
Now if you load up the game… You will notice absolutely no difference. This is because we still need to connect the shovel definitions to the new object builders!
Definitions
So exit the game again, and now we’re going to borrow a file from the core game.
Go to steamapps/common/MedievalEngineers/Content/Data/Items/Equipment, and copy Shovel.sbc into your mod’s Data folder. After pasting it in, open it in the text editor, and we’re going to have to do some find-and-replacing of some types! Now, this file contains two shovel definitions, the wooden shovel and the iron shovel, so we have to find and replace elements twice. Once for each shovel.
Now, this article is written for the release of 0.5, so the line numbers might be different in the future. The logic remains the same, so you will have to look for similarities.
Let’s start with the first element, in the MyObjectBuilder_HandItemDefinition for WoodenShovel, inside the <StanceToBehavior> tag at line 34, we find the BehaviorId. Right now, it’s Type says MyObjectBuilder_DiggerToolBehaviorDefinition, we want it to say MyObjectBuilder_SmartDiggerToolBehaviorDefinition so that it refers to the correct object builder class. So replace it! Then, find the same entry for the IronShovel and repeat this process.
<!-- So this... -->
<BehaviorId Type="MyObjectBuilder_DiggerToolBehaviorDefinition" Subtype="WoodenShovel"/>

<!-- becomes this... -->
<BehaviorId Type="MyObjectBuilder_SmartDiggerToolBehaviorDefinition" Subtype="WoodenShovel"/>


<!-- and this... -->
<BehaviorId Type="MyObjectBuilder_DiggerToolBehaviorDefinition" Subtype="IronShovel"/>

<!-- becomes this... -->
<BehaviorId Type="MyObjectBuilder_SmartDiggerToolBehaviorDefinition" Subtype="IronShovel"/>
Next up, we need to alter the XML for the behaviors themselves. On line 73 and 74 you will find the data for the tool behavior and all of its settings. We’re going to make it use our new class as well. The file contains three different tool behavior definitions, one for WoodenShovel (at lines 73 and 74), one for IronShovel (at lines 103 and 104), and finally, one for ShovelCombat (at lines 133 and 134), though the latter is currently not used by the game.
Replace the first two lines with the new object builder for each entry.
<!-- So this... -->
  <Definition xsi:type="MyObjectBuilder_DiggerToolBehaviorDefinition">
    <Id Type="DiggerToolBehaviorDefinition" Subtype="WoodenShovel"/>

<!-- becomes this... -->
  <Definition xsi:type="MyObjectBuilder_SmartDiggerToolBehaviorDefinition">
    <Id Type="MyObjectBuilder_SmartDiggerToolBehaviorDefinition" Subtype="WoodenShovel"/>


<!-- and this... -->
  <Definition xsi:type="MyObjectBuilder_DiggerToolBehaviorDefinition">
    <Id Type="DiggerToolBehaviorDefinition" Subtype="IronShovel"/>

<!-- becomes this... -->
  <Definition xsi:type="MyObjectBuilder_SmartDiggerToolBehaviorDefinition">
    <Id Type="MyObjectBuilder_SmartDiggerToolBehaviorDefinition" Subtype="IronShovel"/>

<!-- etc. -->
With this out of the way, load up the game, your world, and now it should be working! If the shovel is available in the game, and you can use it, that means we didn’t break it! That means we’re now finally at the point where we can start making the functionality of the mod!
Input Handling
Let’s start by adding the input handling to the shovel, as this is one of the new features in the game, and it’s really simple to set up! Open up MySmartDiggerToolBehavior.cs and after the m_definition variable declaration, put the following code:
		// This is the input context object used for handling player input.
		private MyInputContext m_inputContext = null;
Then in the Init function, after m_definition gets assigned, add the following bit of code:
            // Creates a new input context, let’s call it MagicShovel for now.
            m_inputContext = new MyInputContext("MagicShovel");

            // Add an action with the control name, and a new binding.
            m_inputContext.Actions.Add(MyStringHash.GetOrCompute("ToggleShovel"), new MyInputContext.ActionBinding
            {
                // ValidStates represents the control’s action you want to react to.
                // MyInputStateFlags.Pressed means that when the key is pressed, this event fires.
                ValidStates = MyInputStateFlags.Pressed,
                // Action receives the function that is called when the key is pressed.
                Action = ScanAltitude
            });
And then add the following three functions into the class’ body, after the Init function has its closing }.
        // Called when the tool is equipped.
        public override void Activate()
        {
            base.Activate();

            // Adds the input context to the input stack. This means it will start to receive events.
            m_inputContext.Push();
        }

        // Called when the tool is unequipped
        public override void Deactivate()
        {
            base.Deactivate();

            // Removes the input context from the input stack. This means it will no longer receive events.
            m_inputContext.Pop();
        }

        // Called when the player presses the new shovel key.
        private void ScanAltitude(ref MyInputContext.ActionEvent action)
        {
            // Outputs a text to the screen as a HUD notification.
            ((IMyUtilities)MyAPIUtilities.Static).ShowNotification("Button was pressed!", 1000, null, Color.Red);
        }
Oh my, that was a bit of code copy-paste! Feel free to take a second to study what you just put there, it’s basic functionality, but it works quite easy after you get the hang of it! Then, load up the game, and press the Toggle Shovel key! (Bound to Z) You should see a message on your screen now. Congratulations, you made your first input bound function!
Altitude Logic
Of course, this is not what we wanted, our goal was to display our distance to the center of the planet after all. So now we will do just that.
We are going to replace the ScanAltitude function. So delete the body of the function, and replace it with this code. Change it so that the function looks like this:
        // Called when the player presses the new shovel key.
        private void ScanAltitude(ref MyInputContext.ActionEvent action)
        {
            // Get the position of the tool holder.
            var holderPosition = Holder.PositionComp.GetPosition();

            // The player position is relative to the planet they're on.
            // So we can use a trick, we just get the length of the position vector to get the distance to the center of this planet.
            var altitude = holderPosition.Length();

            // Now create the message that goes onto the screen.
            string message = string.Format("Altitude: {0:0.0}m", altitude);

            // Finally, display it to the player.
            ((IMyUtilities)MyAPIUtilities.Static).ShowNotification(message, 1000, null, Color.Yellow);
        }
And that’s it! Now, every time you press the shovel key, you will get a message showing you how far you are from the center of the planet!
We are going to end the tutorial here. There are many more things we can do to the shovel tool, that will show you more of the advanced modding options in the game, but for now, you can enjoy playing with your custom shovel mod.
Example and Sources
We’ve attached a copy of the fully functional mod’s source to the document, and you can find the first part’s result on the Steam workshop.
http://steamcommunity.com/sharedfiles/filedetails/?id=936042378
We’ve also attached a copy of the mod’s source code
http://www.medievalengineerswiki.com/uploaded_files/SmartShovel_PartOne.zip
For a fun exercise in understanding, try to do the same thing to the pickaxe. Can you figure it out?
Good luck, have fun modding it, and we’ll see you in part two of the tutorial!