Keen:Planet Modding/Clouds
 OFFICIAL CONTENT OFFICIAL CONTENT |
| Version: | 0.4 |
Clouds
The first thing that should (probably) come in to your mind when you finally learn how to tweak Atmosphere settings, is probably how to change the look of the Clouds! Because, normally, when you change the color of the atmosphere you would like the clouds color to be relatively close to the Atmosphere color. In our Atmosphere guide (if you read it) we were sharing some knowledge about changing the look of the Atmosphere. We made it orange which is kind of cool all on its own, but what really draws our attention and not in a very good way – is the color of the clouds. As you can see they’re white which is looking wrong isn’t it? In an orange atmosphere environment you would expect orange or yellow clouds right? So that’s what we’ll be doing in a minute – changing the look of our cloud layer and getting to know their under-the-hoods.
Like with Atmosphere settings, the Clouds setting are stored in the same “PlanetGeneratorDefinitions.sbc” file located in KeenSWH\Sandbox\Sources\SpaceEngineers\Content\Data and are individual for each planet. Usually we base our code lines so the Cloud definitions come right after Atmosphere definitions which makes it very convenient to search for. Just open your “PlanetGeneratorDefinitions.sbc” file in any decent advanced text editor and search for this commented (inactive) line of code:
Note: you can download the DDS files from here[mirror.keenswh.com]
<CloudLayers><!-- This is a global Cloud tag and it's just saying: "Cloud definitions START here! -->
  <CloudLayer><!-- Beginning tag of actual cloud Layer definitions -->
    <!-- Far Layer --><!-- Comment stating that the following definitions define a look of clouds seen from outer space ONLY -->
    <Model>Models/Environment/Sky/CloudSphere.mwm</Model><!-- Path to a model of a sphere on which cloud texture is assigned to (Normally you don't change this) -->
    <Textures><!-- Opening tag for a texture usage -->
      <Texture>Textures/Models/Environment/Sky/EarthFarClouds.dds</Texture><!-- Path to a file which contains clouds texture -->
    </Textures><!-- Closing tag for a texture usage -->
    <RelativeAltitude>0.9</RelativeAltitude><!-- Height above the ground of this particular cloud layer -->
    <RotationAxis><!-- Here you define the rotation axis on which your cloud sphere will rotate imitating cloud movement -->
      <X>-0.2</X>
      <Y>1</Y><!-- For this case it is set to rotate on "Y" axis with a slight inclination of 0.2 on two other axis -->
      <Z>0.2</Z>
    </RotationAxis>
    <AngularVelocity>0.0002</AngularVelocity><!-- Rotation speed of Cloud sphere on which your cloud texture is applied -->
    <InitialRotation>1.2</InitialRotation><!-- Initial rotation value at which cloud sphere starts its rotation when the game is loaded -->
    <ScalingEnabled>false</ScalingEnabled>
    <FadeOutRelativeAltitudeStart>2.0<FadeOutRelativeAltitudeStart><!-- Height above the ground at which cloud layer STARTS to disappear -->
    <FadeOutRelativeAltitudeEnd>1.4</FadeOutRelativeAltitudeEnd><!-- Height above the ground at which cloud layer FULLY disappears -->
    <ApplyFogRelativeDistance>0.05</ApplyFogRelativeDistance>
  <CloudLayer><!-- Closing tag of actual Cloud Layer definitions -->

  <!-- Near Layer --><!-- Comment stating that the following definitions define a look of clouds seen from the ground ONLY -->
  <CloudLayer>
    <Model>Models/Environment/Sky/CloudSphere.mwm</Model>
    <Textures>
      <Texture>Textures/Models/Environment/Sky/Landsky_texture.dds</Texture>
    </Textures>
    <RelativeAltitude>1.0</RelativeAltitude>
    <RotationAxis>
      <X>0</X>
      <Y>1</Y>
      <Z>0</Z>
    </RotationAxis>
    <AngularVelocity>0.0006</AngularVelocity>
    <InitialRotation>0.15</InitialRotation>
    <ScalingEnabled>false</ScalingEnabled>
    <FadeOutRelativeAltitudeStart>0<FadeOutRelativeAltitudeStart>
    <FadeOutRelativeAltitudeEnd>1.6</FadeOutRelativeAltitudeEnd>
  <CloudLayer>
<CloudLayers><!-- This is a global Cloud tag and it's just saying: "Cloud definitions END here!" -->
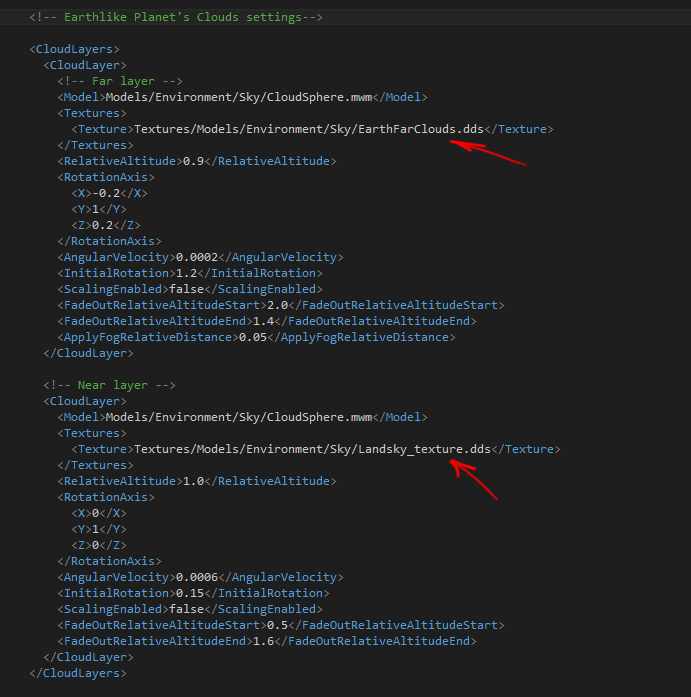
That’s where all the cloud settings for the particular planet are stored. The following picture is a brief breakdown of cloud definitions:
Basically, the structure of placing clouds on any planet is as follows:
<CloudLayers>
   <CloudLayer>
   Blah Blah Blah Beautiful Clouds Blah Blah Blah
   </CloudLayer>
</CloudLayers>
So, as you can see everything is super easy. Simply put, <CloudLayers> tags are meant for global separation of Cloud definitions from other code definitions and are here just to define where the code for the clouds start, while <CloudLayer> tags (again, don’t mistake with CloudLayers) are the actual cloud layers and each pair of these tags (<CloudLayer>…</CloudLayer>) define the look and behavior of each cloud layer. As Captain Obvious states - The more <CloudLayer> pairs you have.. umm - the more cloud layers you will have!
For example. You can have more than one Cloud layer, to simulate even more complex cloud patterns than you initially had in your texture file! And that’s when <InitialRotation> and <RotationAxis> tags come into play. You can assign values to these tags for each Cloud layer individually thus having the cloud spheres to be initially rotated and spinning on different angles creating more interesting and natural cloud patterns. So you basically just stack them this way:
<CloudLayers>
   <CloudLayer>LAYERPROPERTIES</CloudLayer>

   <CloudLayer>LAYERPROPERTIES</CloudLayer>

   <CloudLayer>LAYERPROPERTIES</CloudLayer>
</CloudLayers>
That’s it! Now you have three Cloud Layers! And of course you can do it for the Far and the Near cloud layers as well.
Your main cloud color texture must be 4096x2048px RGB file saved in DDS format without alpha as “CloudName_cm.dds file” and it must contain only the color information of your clouds. For Alphamask file please create a separate file of the same 4096x2048px dimensions containing only Alpha mask, make it a greyscale file, save as DDS luminance format and name it “CloudName_Alphamask.dds”. Back in the code, in <texture> tags you just write “Cloudname.dds”, no worries - the engine will identify required “cm” and “alphamask” files itself, just make sure both files are in the correct folder. (KeenSWH\Sandbox\Sources\SpaceEngineers\Content\Textures\Models\Environment\Sky).
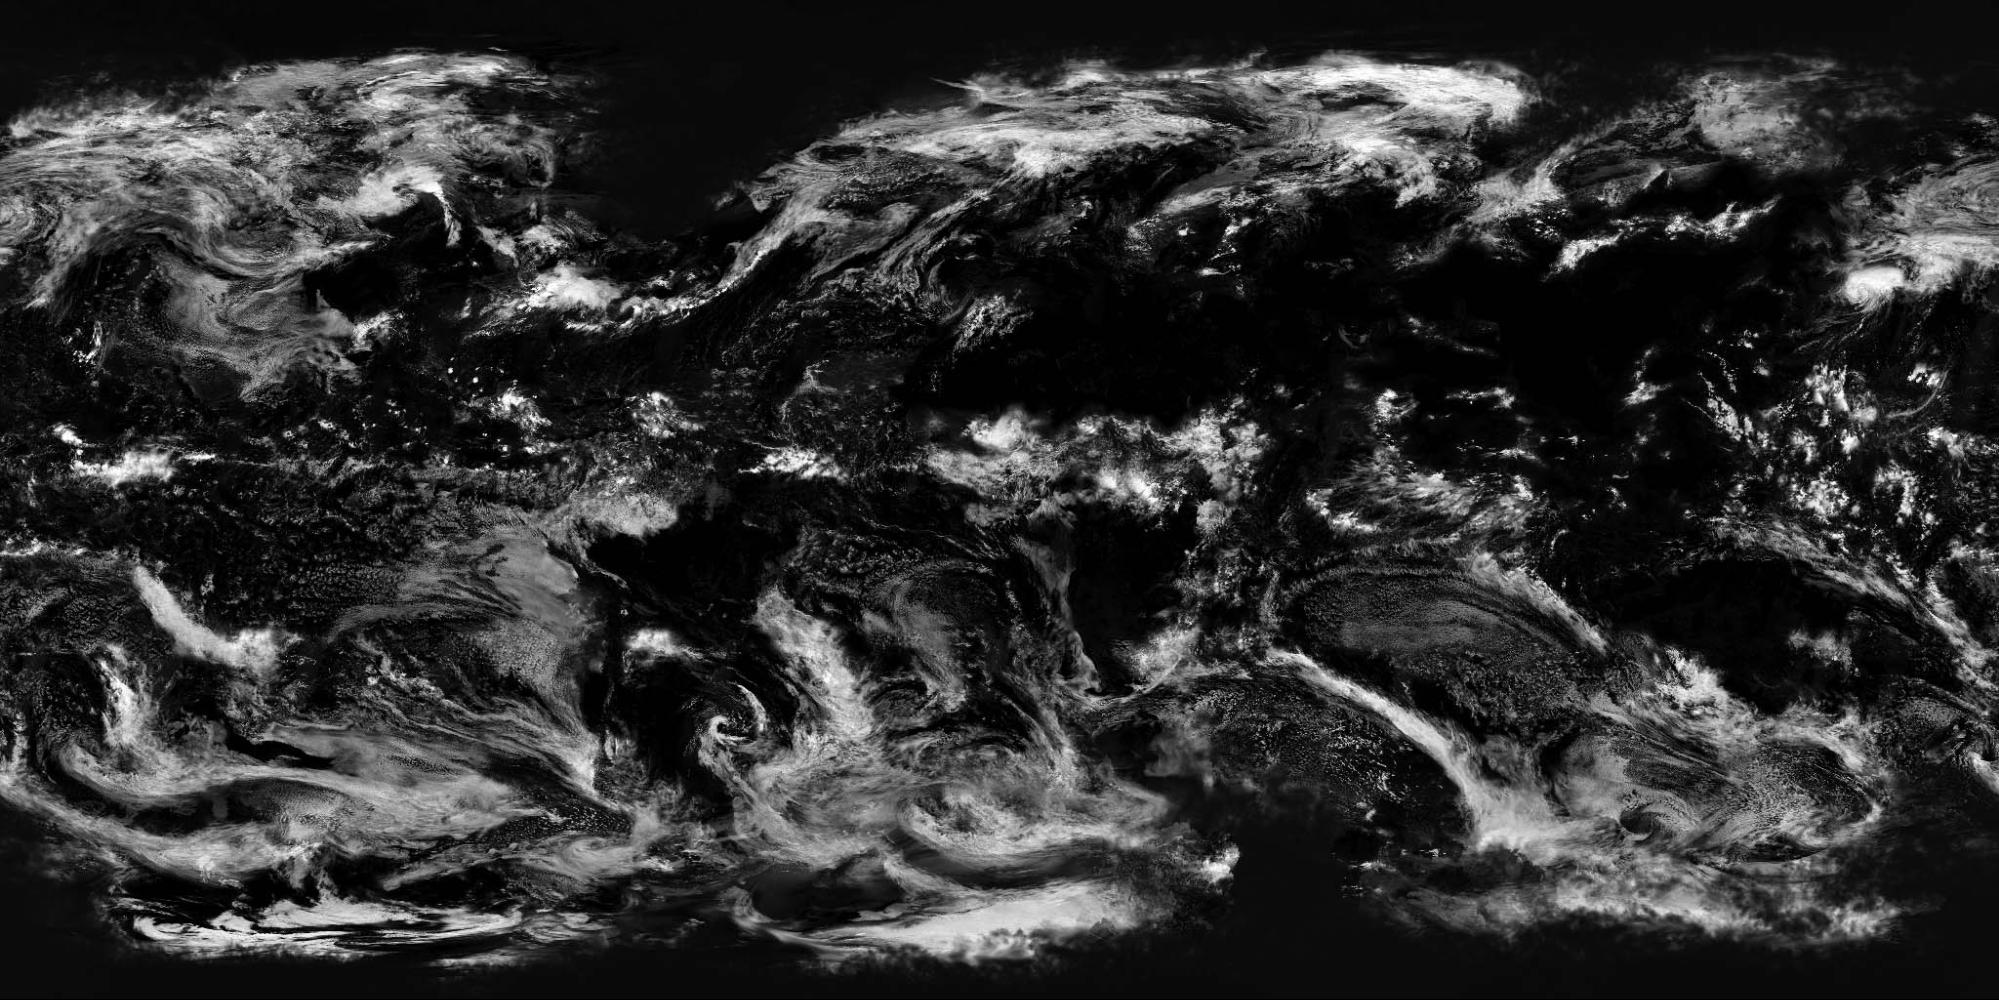
As you know, clouds that are seen from the outer space and the clouds that you see through your window don’t look the same because of the huge differences in scales in both cases. That’s why we have two types of clouds on each planet. First one (commented as “Far layer” in the code) – the clouds that you see from the outer space. They usually look like NASA satellite orbital photo shots.
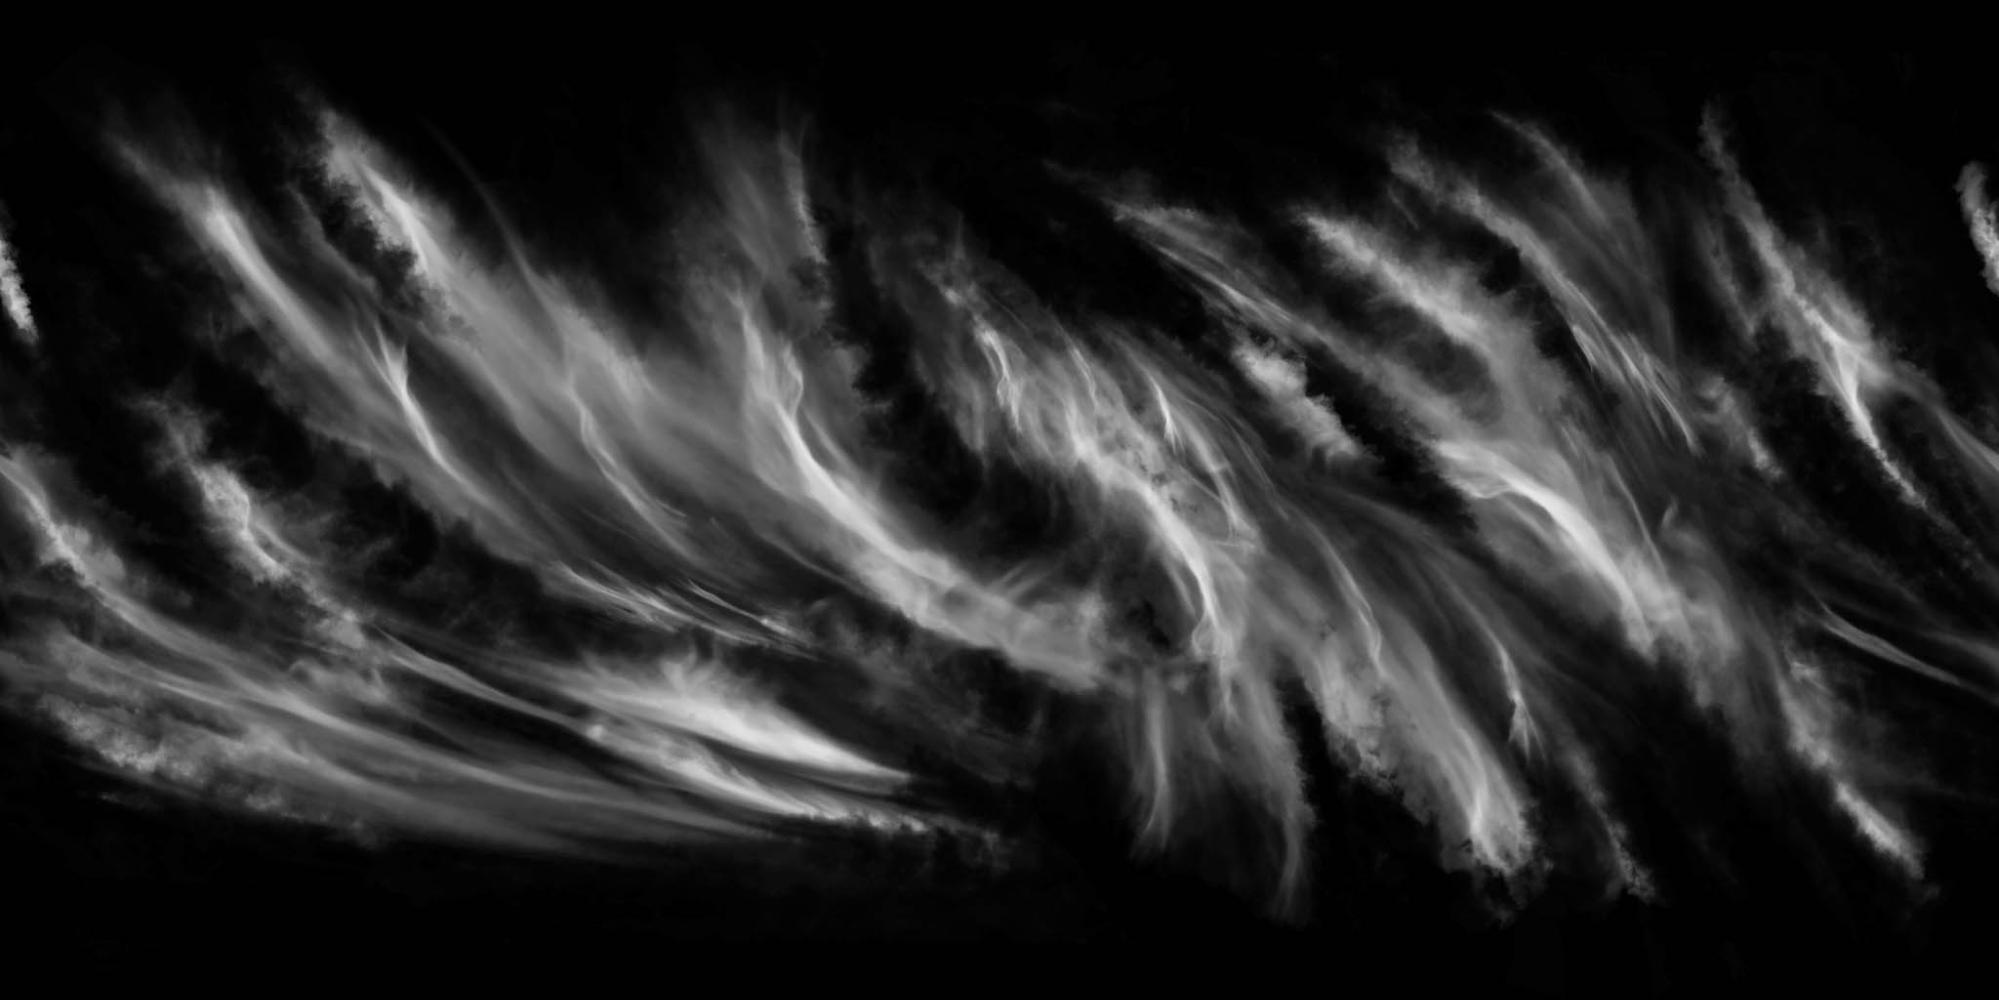
And the Second one (commented as “Near layer” in the code) – the clouds that are seen when you’re on the ground or close to it. These should look like a significantly zoomed version of the first ones - more detailed, wispy and more individual. Like the ones you used to see in the sky every day. Refer to the picture.
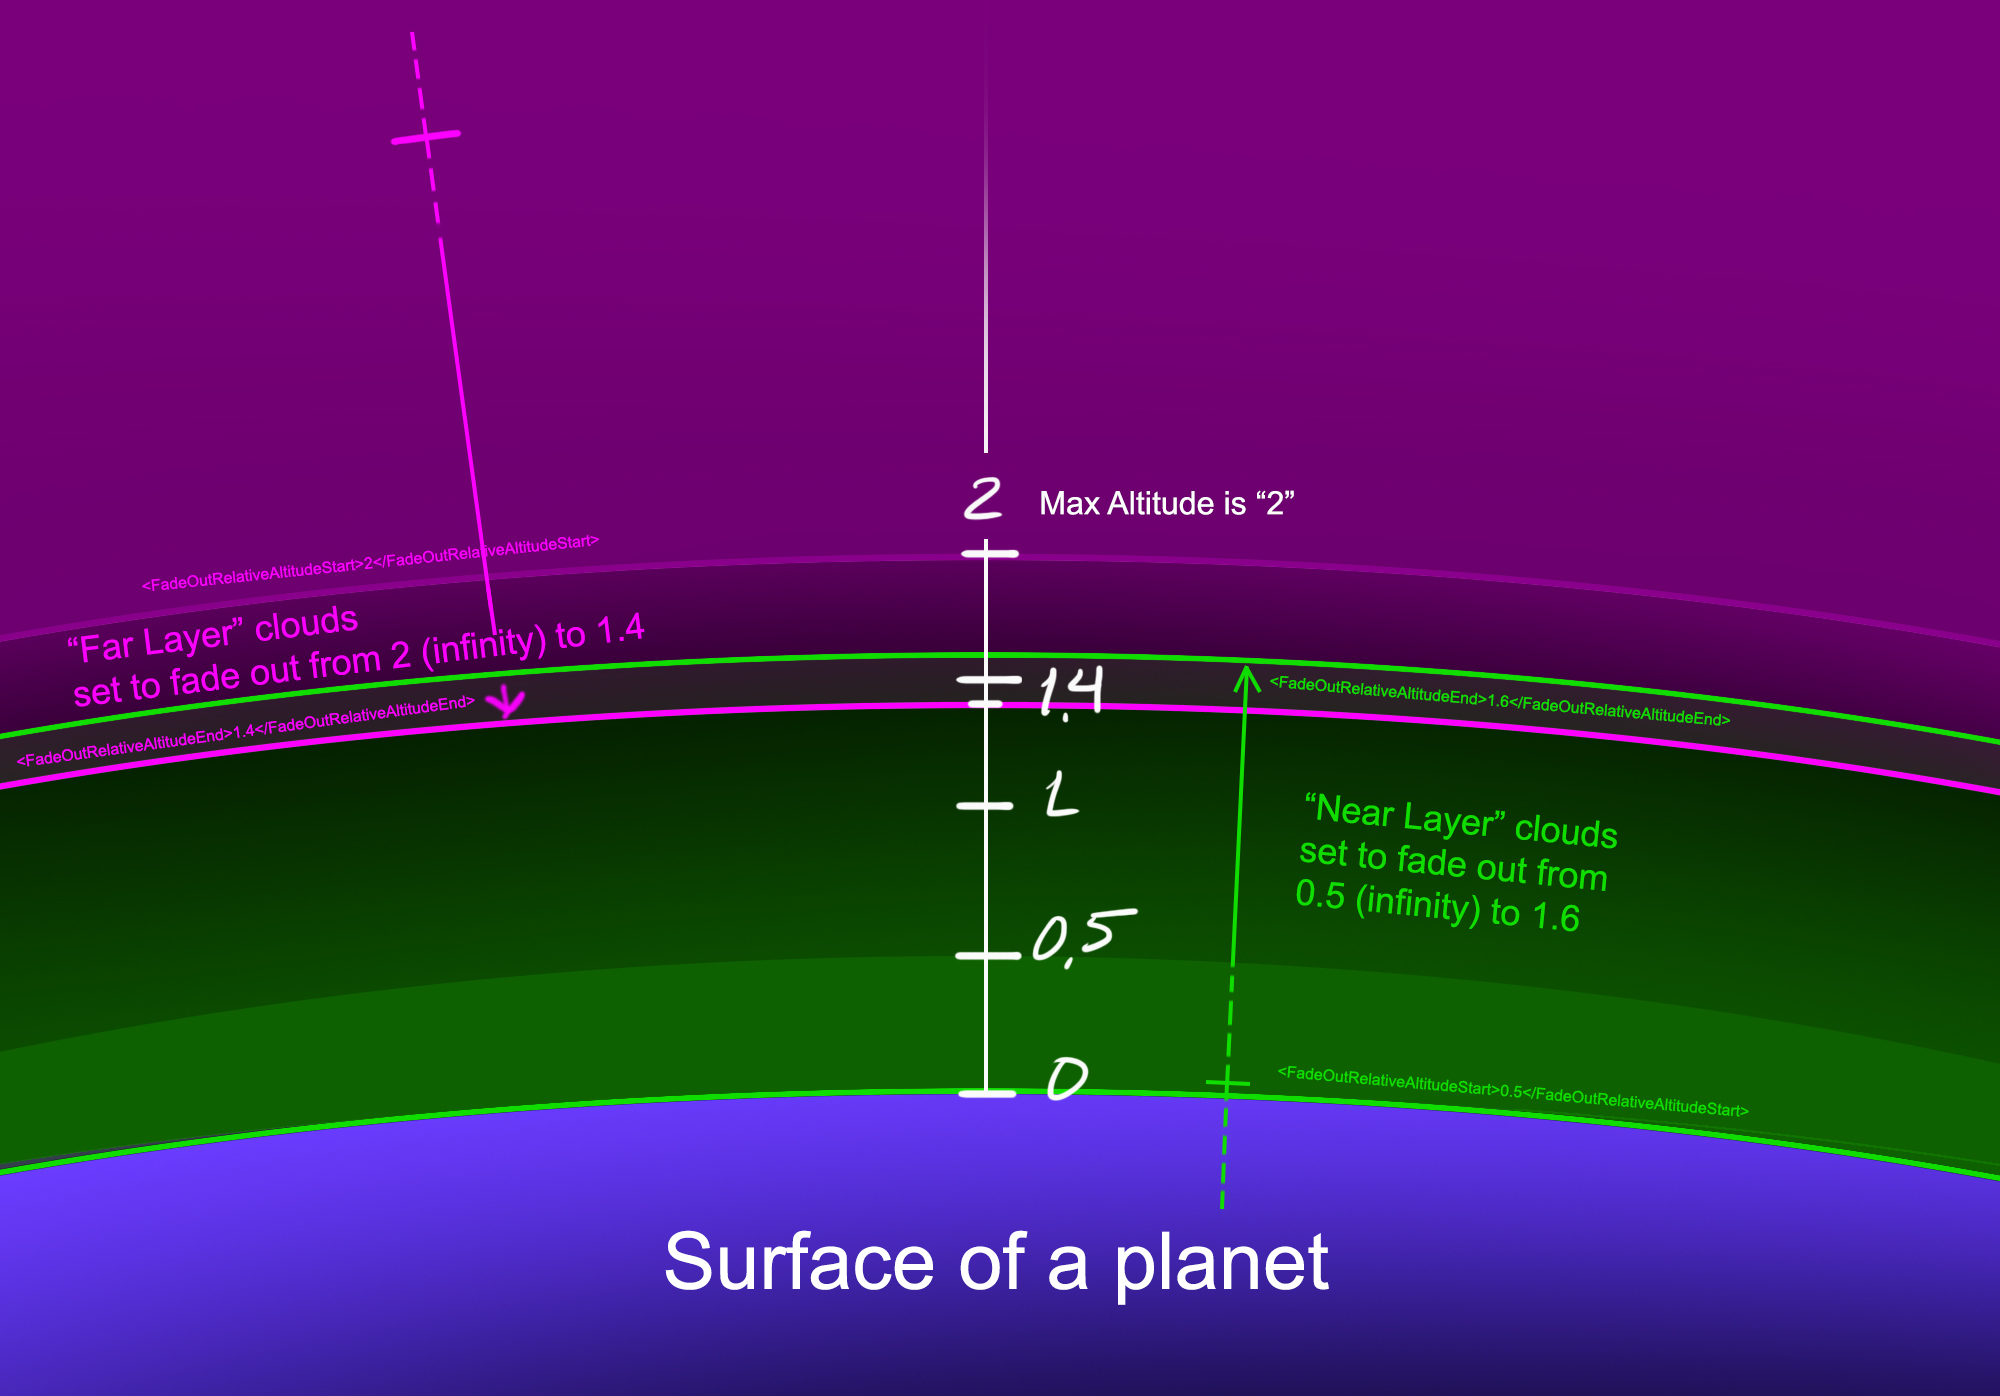
Now, how to actually separate these two types of cloud layers and to make them come in layers – one after the other. This is very simple too. The maximum overall Altitude (height) of our atmosphere layer is 2. So we have to set up our cloud layers in a tricky way, so that when we’re in outer space - we would see the “Far layer” clouds ONLY, and as we’re getting lower (approaching the ground), on a particular altitude (height) smoothly switch to the “Near layer” clouds and have the “Far layer” clouds hidden. Sounds crazy but it will become clear if you look at the following pic:
As you can see things are really self-explanatory here too. By setting the Start and End values in <FadeOutRelativeAltitude..> you basically create a vector, the starting point of which is infinity which means anything below this start point will be constant value, thus – making it possible to set the Far layer to be seen from outer space (values greater than 2), and preventing Near cloud layer from being seen - because it is set to fade out on 1.6. And vice versa – when you’re on the ground, you won’t see Far layer clouds layer because it faded out on much higher distance of 1.4. Not so hard right? Of course you can alter and tweak those values to your liking depending on the planets height maps/relief to get the desired transition between Far and Near cloud layers.
So now that we’re empowered with this knowledge, the only thing we’re left to do is to actually change the color of the clouds from white to yellow color so our clouds look more natural in an orange Atmosphere environment. As we remember, our clouds are consisting of two texture files – a file containing color information (usually just a plain color) and a file with an alpha mask only. We already know that the “Far layer” clouds (the ones seen from space) use “EarthFarClouds_cm.dds” texture file and the “Near layer” clouds use “Landsky_texture_cm.dds”. How we know that? It’s written in <texture> </texture> definitions, remember?
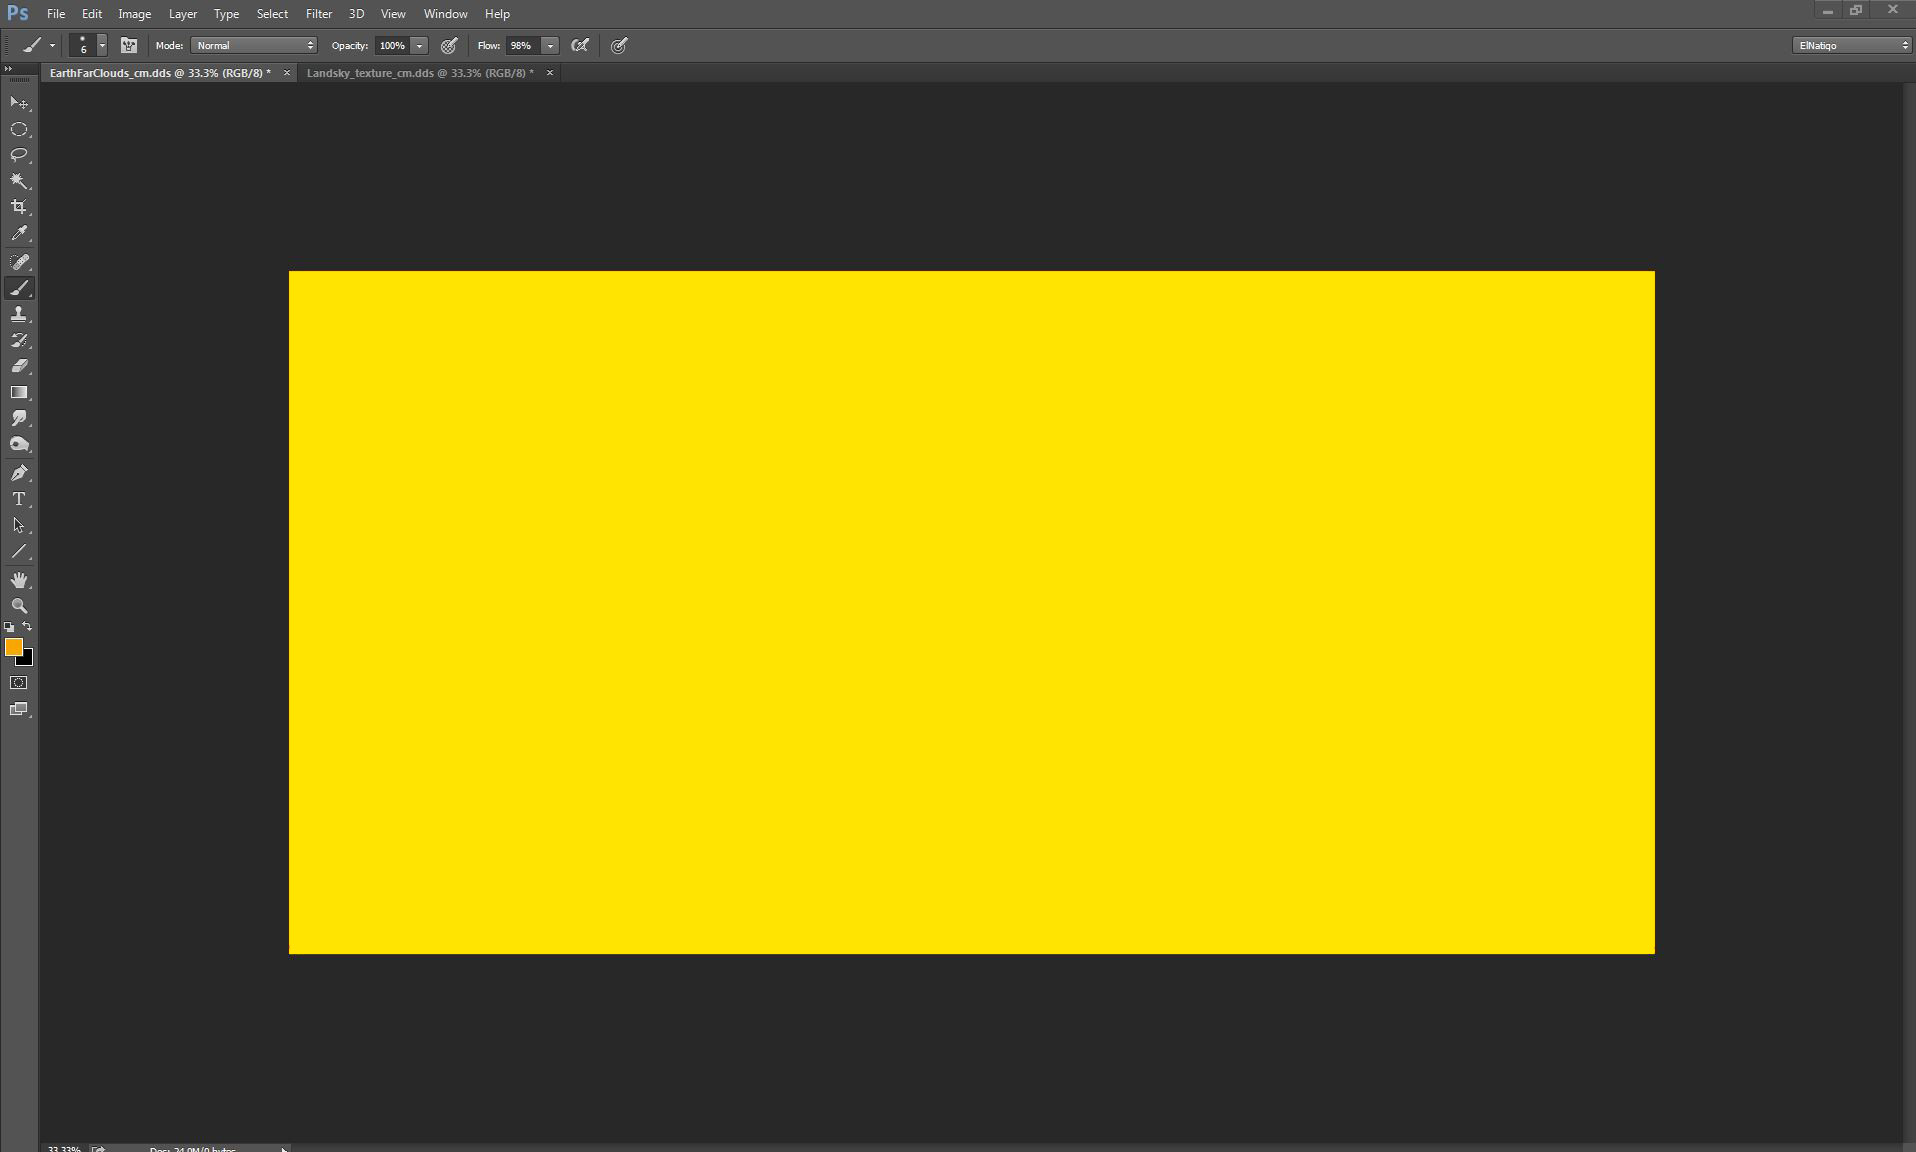
Great! So now just open “EarthFarClouds_cm.dds” and the “Landsky_texture_cm.dds” and fill both files with plain yellow color and save them!
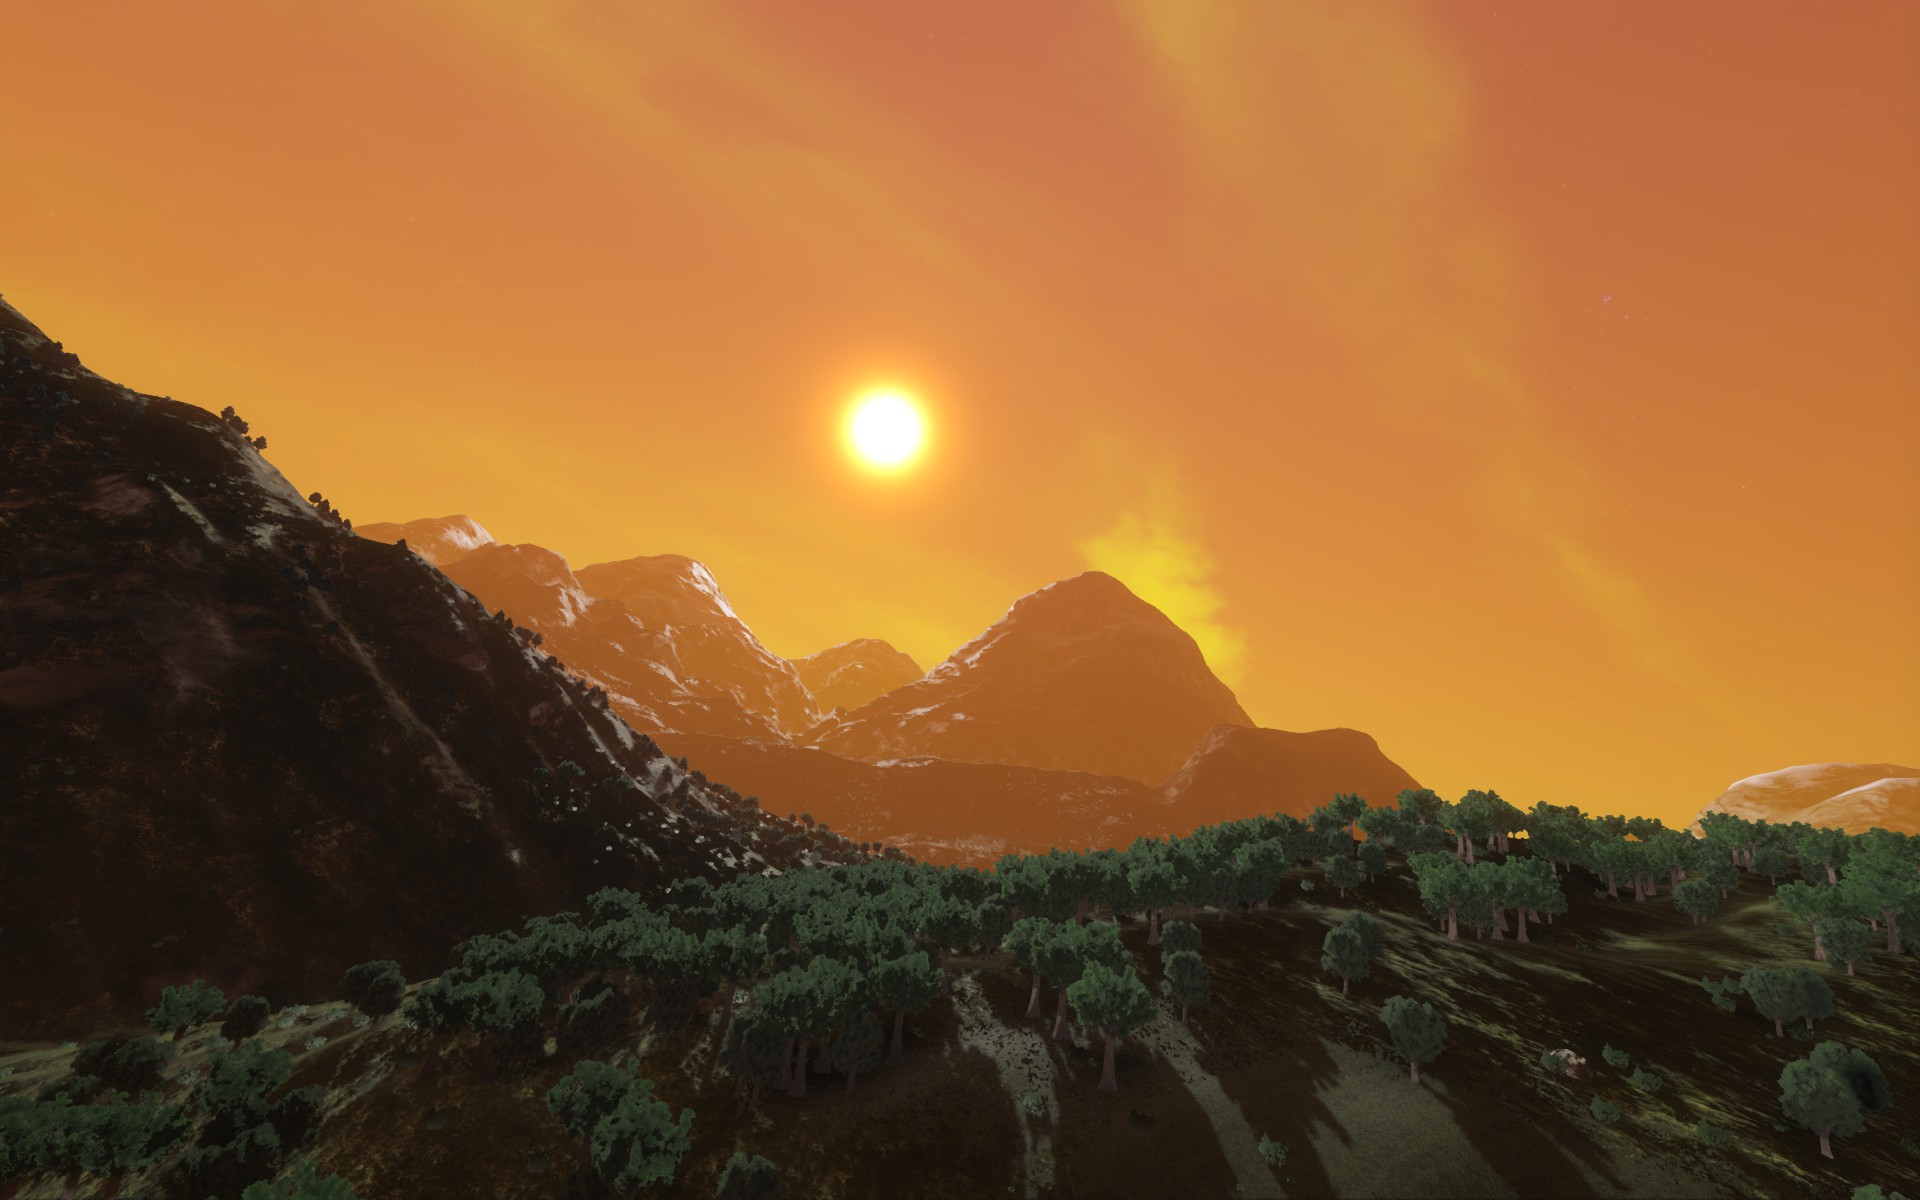
Start the game and spawn an Earthlike planet and voila! You got perfect yellow clouds!
View the full Planet Modding Guide
