House Configuration
 This article is a draft. You can help Medieval Engineers Wiki by completing it. Click to edit this page
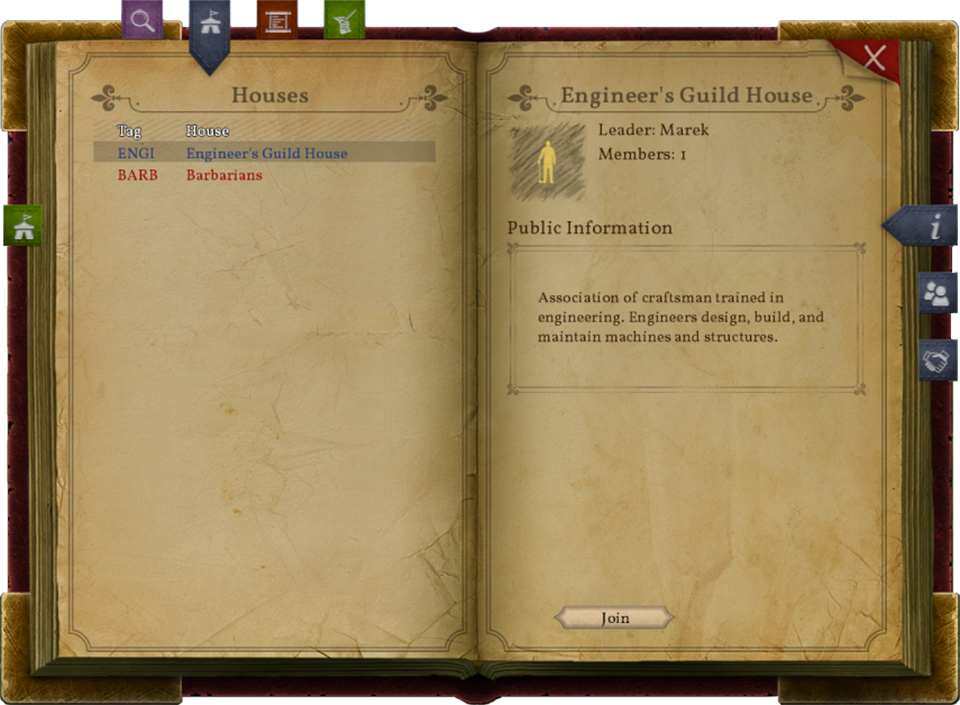
Houses in Medieval Engineers serve in the role of factions or teams. This joins multiple players together in a way that allows them to share permissions and identifies them in various ways in the game such as in Chat, the Banner Workstation and when using the World Map And Fast Travel. There are also diplomacy options for multiple factions. They can relate to each other as ally, neutral, or enemy. Houses can be accessed in-game by pressing ![]() .
.
This How-To page was originally written by CptTwinkie with help from Equinox and Dan2D3D. It will be helpful to note that the page was written from the perspective of CptTwinkie. Equinox and Dan2D3D moved between houses for purposes of demonstration. Used in much of the How-To are two houses called "Our House!" and "Their House" ("Their Hour" is a typo in "Their House"). Our House! represents your own house and, in the How-To, it is owned by CptTwinkie. Their house represents any house other then your own house for the purposes of diplomacy and administration.
Joining a House
Joining a house depends on the settings of the house. It's not too difficult but may require a couple of steps.
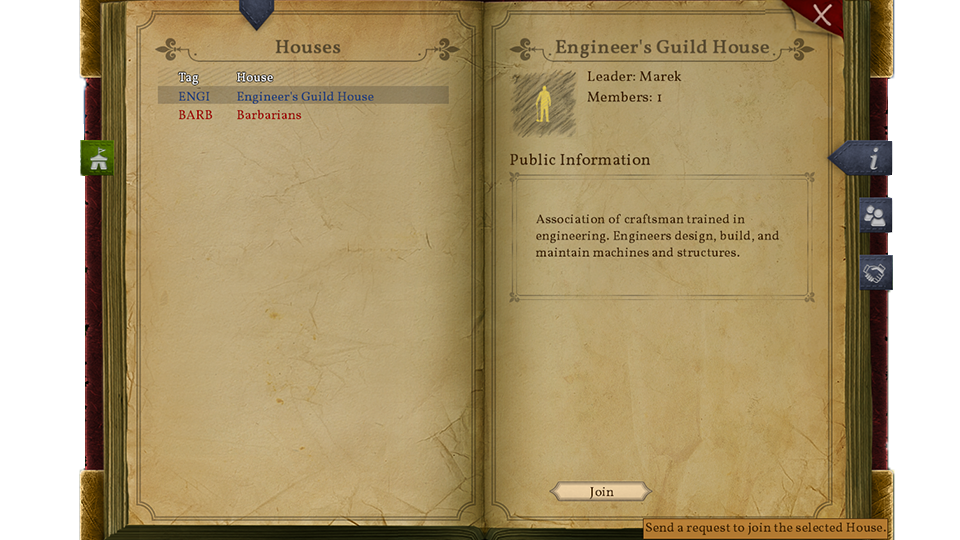
First, open Houses and choose a house to join. Click on the house and then the join button.
There are three things that might happen
- The house doesn't accept new members
- You won't be able to apply to join the house. You will have to convince the house master to enable member applications before you can join.
- The house requires approval for new members
- Members of the house will be notified that a new member wants to join the house. It is up to the members of the house with permission to approve member applications to approve or deny your request.
- The house automatically accepts new members
- You instantly become a member of the house.
If you send a member applications (default) you will see this notification:
File:House 02Join 2Confirm.png
If the house doesn't accept members or your request is denied you will get this notification:
If you are accepted or automatically accepted you will get this notification:
File:House 02Join 3AComplete.png
Note: In this case, the house I applied to was the Engineer's Guild House
Creating a House
Creating a house is not any more difficult than joining one.
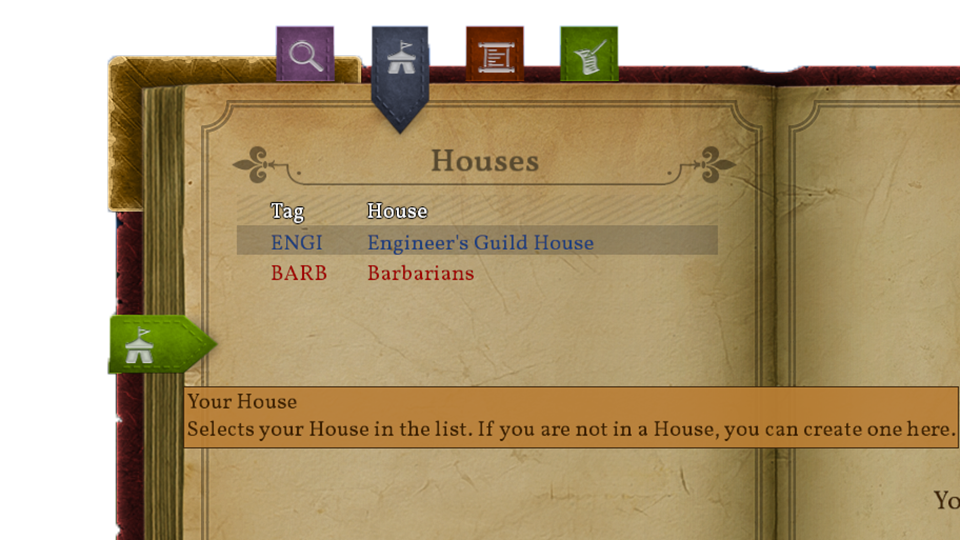
First, select the green tab on the left of Houses. This tab links to your own house if you are in one. When you are not in a house, as in this example, it will show you that you are not in a house and it will give you the option to create one. Click the create button to create a new house.
File:House 03Create 1SelectOwnHouse.png
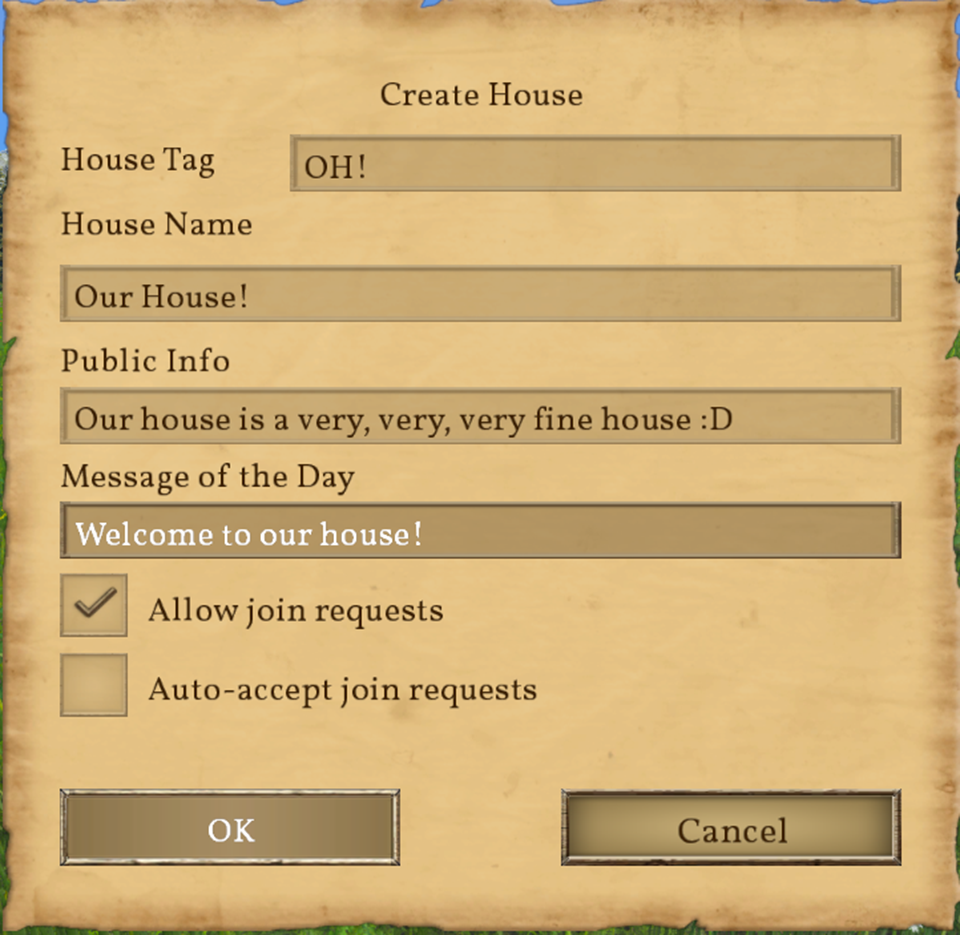
Fill in the details page.
- House Tag (Required)
- The House tag must be exactly 3 letters long.
- House Name (Required)
- The House name must be at least 5 characters long.
- Public Info
- Visible to everyone.
- Message of the Day
- Visible to members only.
- Allow join requests
- Allows players to join the house.
- Auto-accept join requests
- Automatically accepts requests from players to join the house without approval.
Once you click Ok, your house will be created and you will see it on the Houses list.
File:House 03Create 3complete.png
Accepting Members
Once you have a house, if you leave it open to applications, you'll eventually have someone apply to join:
File:House 04AcceptingMemberApplications 1NewApplicant.png
Open the Houses list and click the tab for your own house.
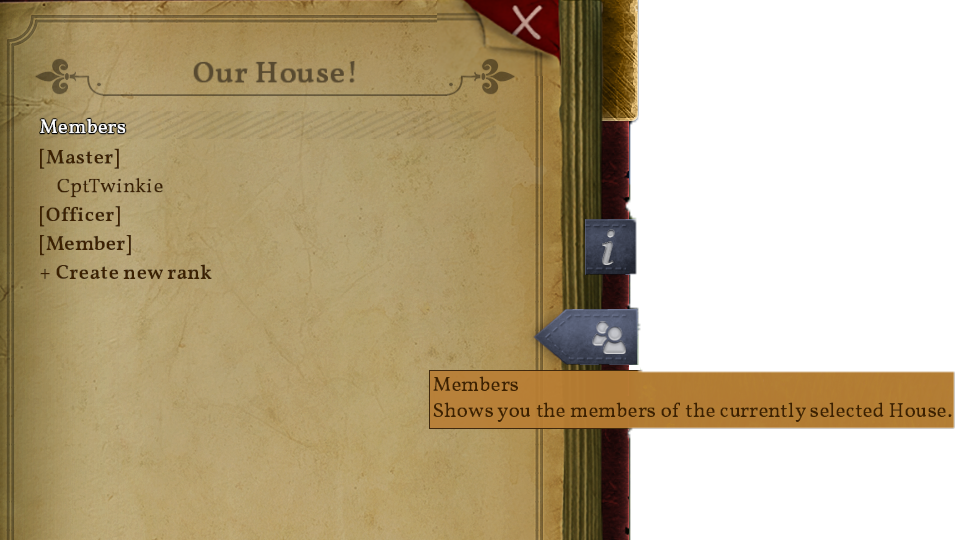
Click the members tab to see a list of members in your house. This list also includes applicants and is sorted by Rank.
Click the applicant you want to approve or deny.
File:House 04AcceptingMemberApplications 4SelectApplicant.png
Click accept to accept the member into your house. Click deny to prevent the member from joining.
File:House 04AcceptingMemberApplications 5ApproveOrDeny.png
Click Yes to confirm your choice.
File:House 04AcceptingMemberApplications 6Confirm.png
Your changes are shown on the member list. If you want to remove a member from the House at any time, you can select the member and click the kick button.
File:House 04AcceptingMemberApplications 7Complete.png
House Diplomacy
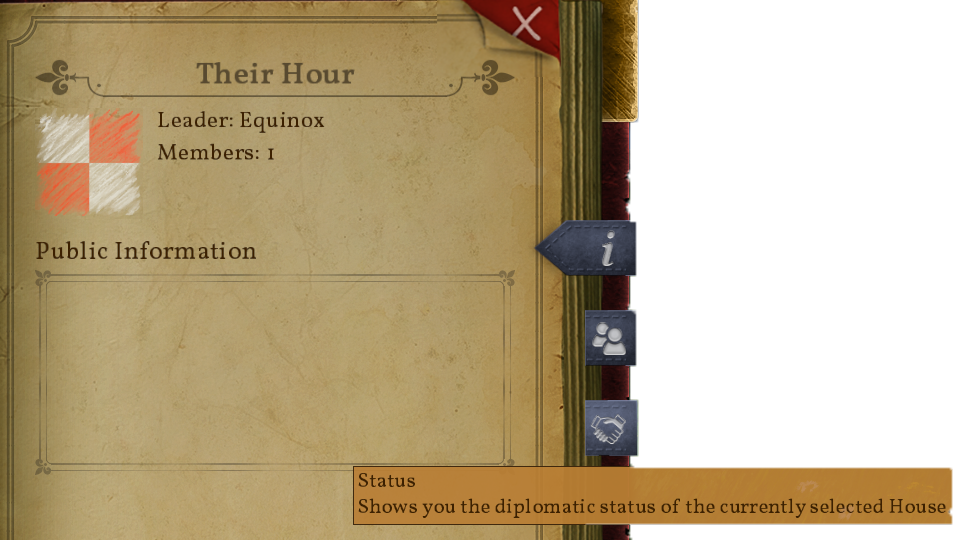
Once you have two or more Houses in your world it begins to become obvious that some houses are friendlier than others. A House that cooperates well with yours may be considered an ally while a House that causes trouble for your House may be considered an enemy. There is a diplomacy system in place to formalize relationships between houses. These diplomatic relationships are reflected in other parts of the game such as Chat and the World Map And Fast Travel.
Creating an Alliance
If your house is getting along well with another house and you wish to officially work together you may wish to propose an alliance with that house.
A Proposal
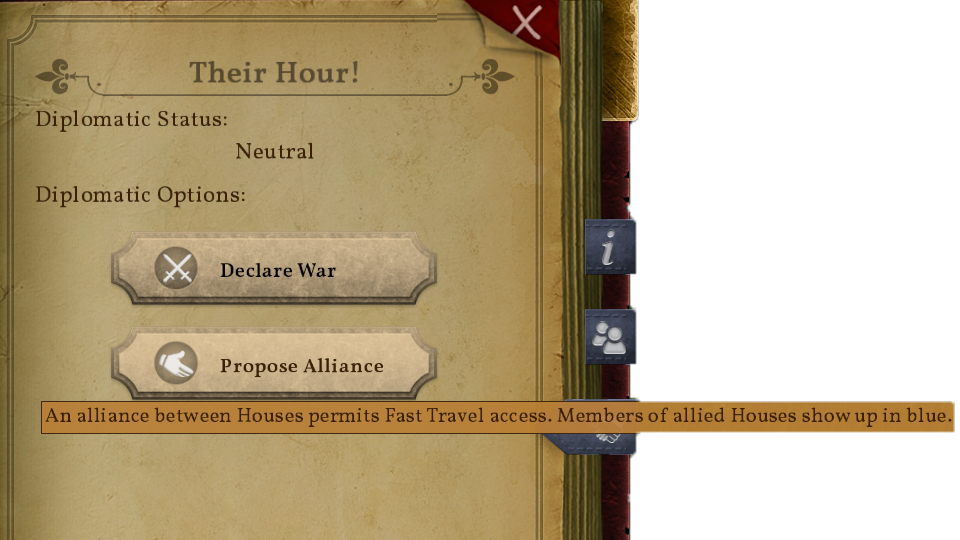
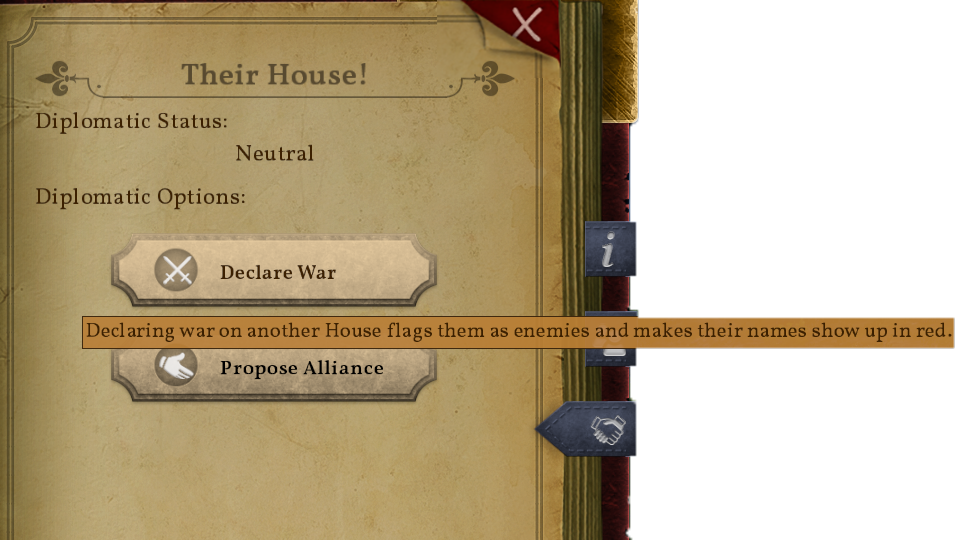
Start by opening Houses, selecting the other house, and clicking the diplomacy tab. Here you will have options to Declare War or Propose Alliance. Choose Propose Alliance.
Click Yes to send the proposal.
File:House 05CreateAlliance 3Confirm.png
You will now see that you are awaiting an alliance with this other House. You can cancel the proposal at any time by clicking Cancel Alliance Request.
File:House 05CreateAlliance 4AllianceRequested.png
Accept or Reject
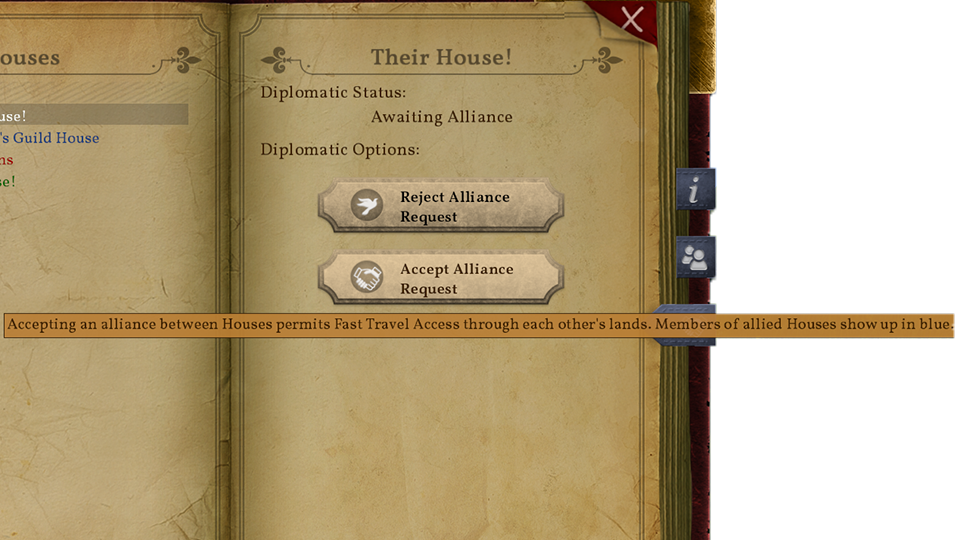
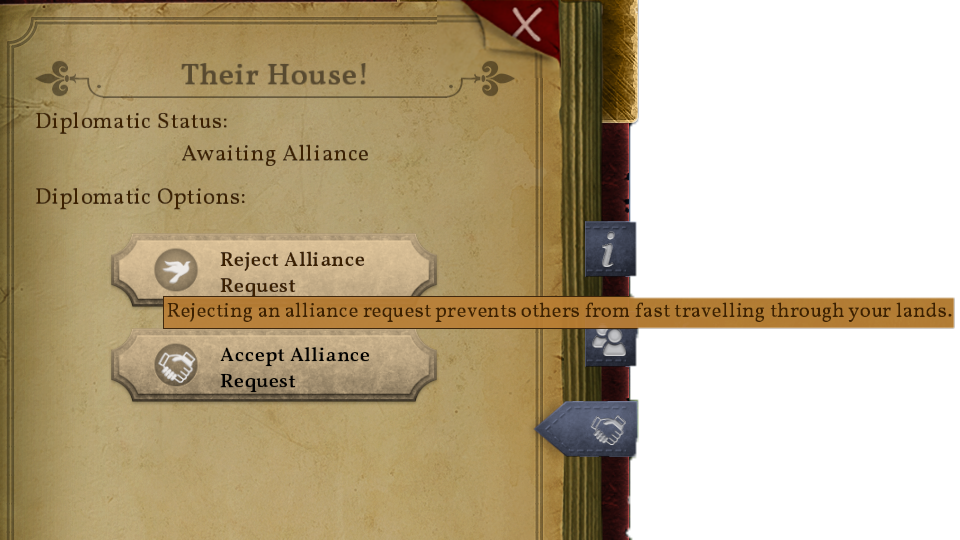
The other house will now be able to accept or reject your proposal by opening the Houses list, clicking on your House, and clicking the diplomacy tab.
Then clicking Yes to confirm.
File:House 05CreateAlliance 6OtherHouseConfirm.png
Will show a confirmation that the alliance has been created.
Alliance Completed
You will also receive a notification that the alliance has been accepted.
File:House 05CreateAlliance 8Complete.png
Your allies will now appear in a blue color in the GUI and they will be able to fast travel through your lands to make cooperation easier.
Ending an Alliance
Alliances come and go sometimes. If you find that you wish to end an alliance it is simple enough.
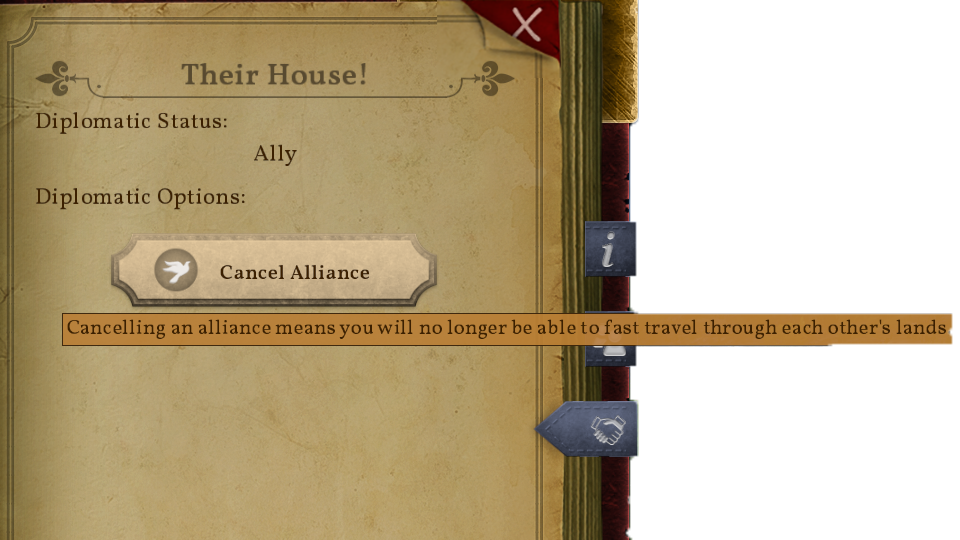
Open your Houses list, select the other house and click the diplomacy tab. Click cancel alliance.
Confirm that you wish to cancel the alliance by clicking Yes.
File:House 06EndAlliance 2Confirm.png
Your alliance is now over. The other house is returned to the neutral state.
Starting a War
Sometimes you just don't get along well with other houses and sometimes you need to do something about it. Declaring war on another house makes a clear statement that you are not going to cooperate with that house and violence may be an option.
Starting a war is easy. Open the Houses list, select the other house and click the diplomacy tab. Click the Declare War button.
Click Yes to cry 'Havoc!', and let slip the dogs of war!
File:House 07CreateEnemy 2Confirm.png
You will receive confirmation of the diplomatic change.
File:House 07CreateEnemy 3Complete.png
The other house will also receive a similar notification of your war declaration.
Ending a War
Stopping a war once it has begun is not so easy. It takes cooperation. The first step requires that one side or the other offers to stop fighting.
A Capitulation
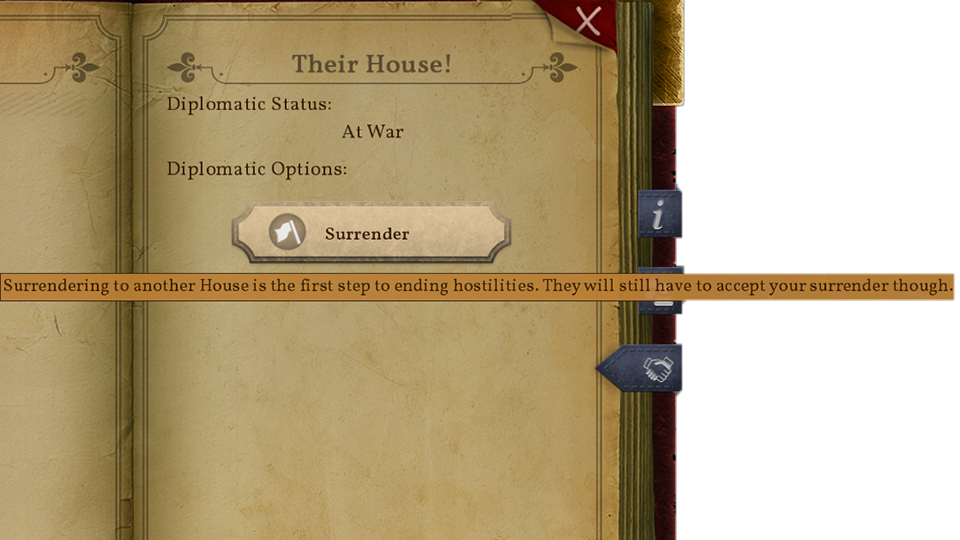
Open the Houses list, select the other house and click the diplomacy tab. Click Surrender to offer terms to the enemy.
Click yes to confirm your cowardice.
File:House 08EndWar 2Confirm.png
Your status with the other House will change to Surrendering.
File:House 08EndWar 3SurrenderRequested.png
Mercy Considered
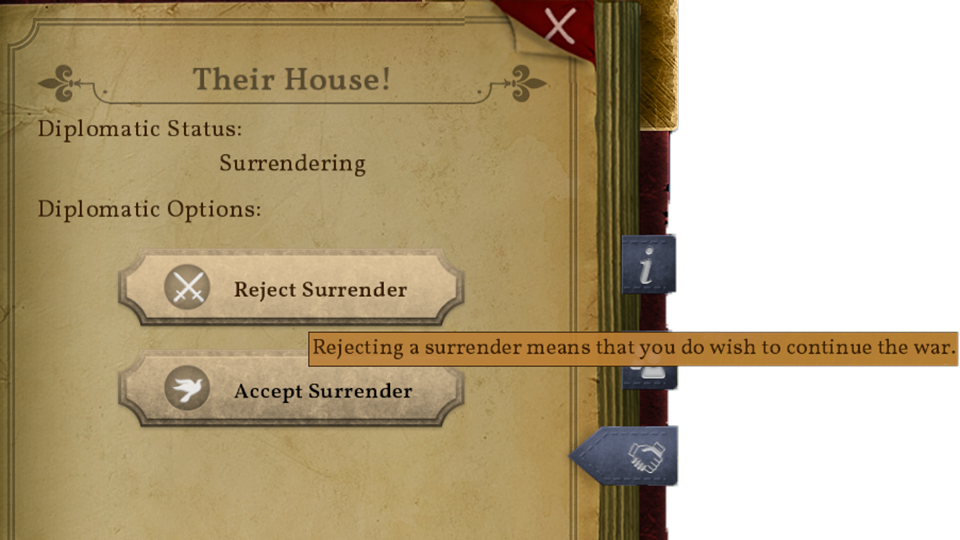
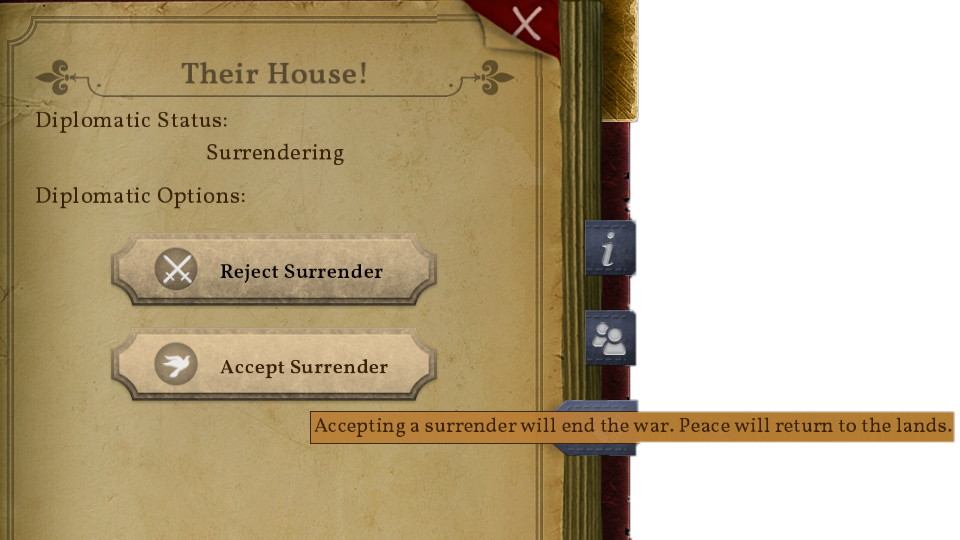
The other House will have the option to accept or reject your surrender.
Rejecting the surrender continues the war. Accepting the surrender ends the war so that you can begin picking up the remains of battle in peace.
A Truce
If the enemy decides to take mercy on your House the diplomatic status will return to Neutral.
File:House 08EndWar 5SurrenderConfirmed.png
House Configuration
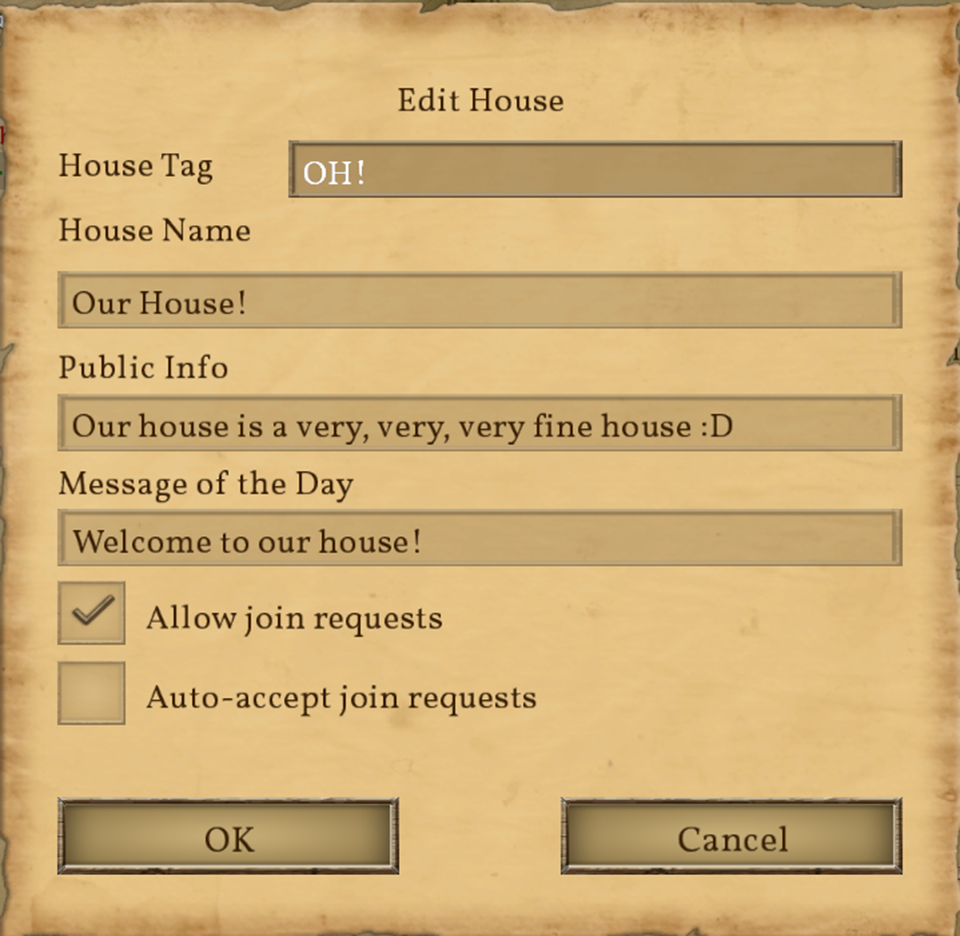
Houses don't have any configuration options beyond what is available when they are created. These settings can be changed at any time by opening the Houses list, clicking the Your House tab and clicking edit.
File:House 09EditHouse 1Edit.png
Change the settings and click Ok
Ranks
Ranks provide for customization of permissions within a House. There are three Ranks by default when a House is created. These ranks each have a default set of permissions.
Master
- Has all permissions
Officer
- Edit Message of the Day
- Edit House Banner
- Manage Diplomacy
- Manage Applications (New Members)
- Kick Members
Member
- No permissions
Creating A New Rank
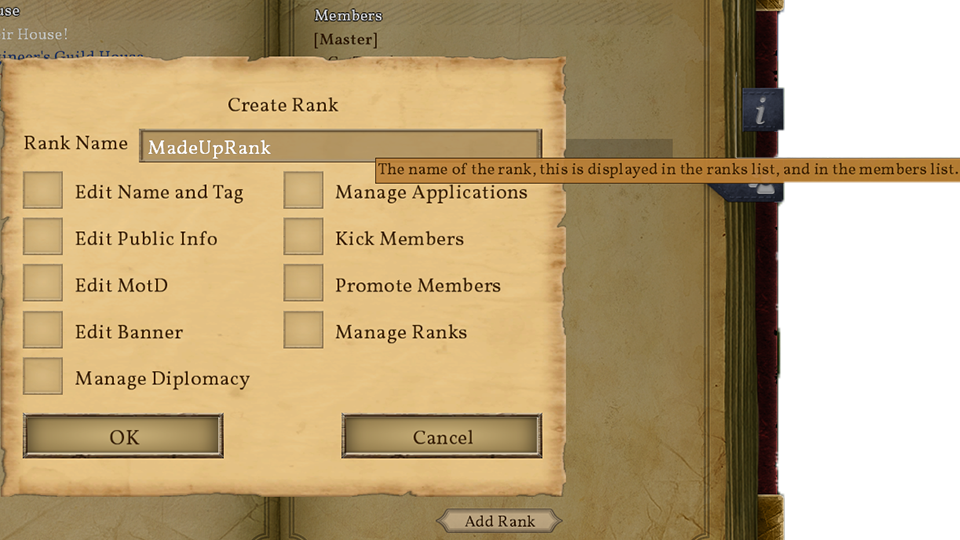
To create a new Rank, select +Create new rank at the bottom of the members list and click Add Rank.
File:House 10CreateOrEditRank 1ACreate.png
You will then be asked to give the Rank a name and choose the permissions that members of that Rank will have.
- Rank Name (Required)
- The name of the rank, this is displayed in the members list.
- Edit Name and Tag
- Allows members with this rank to edit this House's name and tag.
- Edit Public Info
- Allows members with this rank to edit the public information.
- Edit MotD
- Allows members with this rank to edit the Message of the Day.
- Edit Banner
- Allows members with this rank to edit the House banner using the Banner Workstation.
- Manage Diplomacy
- Allows members with this rank to manage the diplomatic relationships for this House.
- Manage Applications
- Allows members with this rank to accept and reject applications.
- Kick Members
- Allows members with this rank to remove members from the House.
- Promote Members
- Allows members with this rank to promote and demote members.
- Manage Ranks
- Allows members with this rank to manage Ranks.
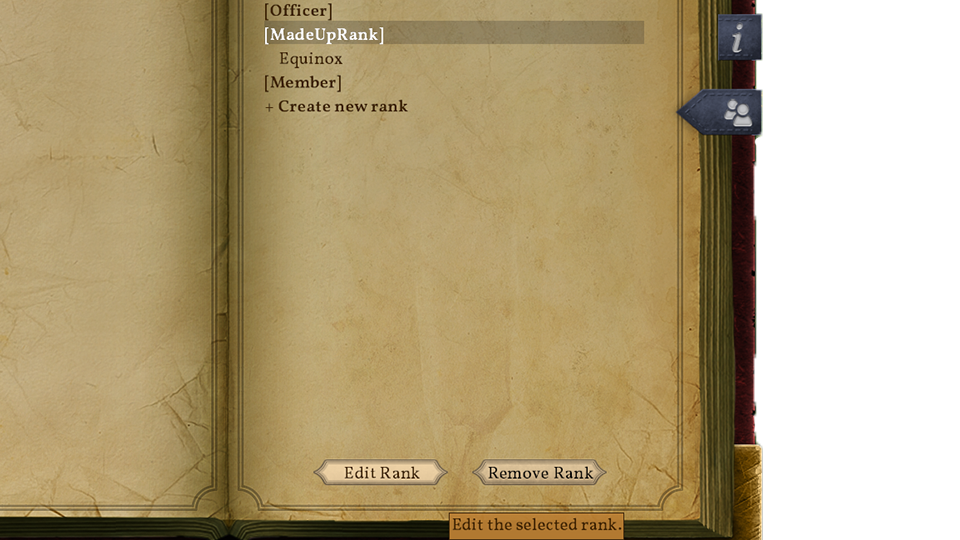
Your new rank will appear in the members list. New Ranks are added above the lowest rank, Member by default.
File:House 10CreateOrEditRank 3Complete.png
Editing Ranks
Click a Rank in the members list and click Edit Rank to change its settings. Click Ok to apply the new settings.
Removing Ranks
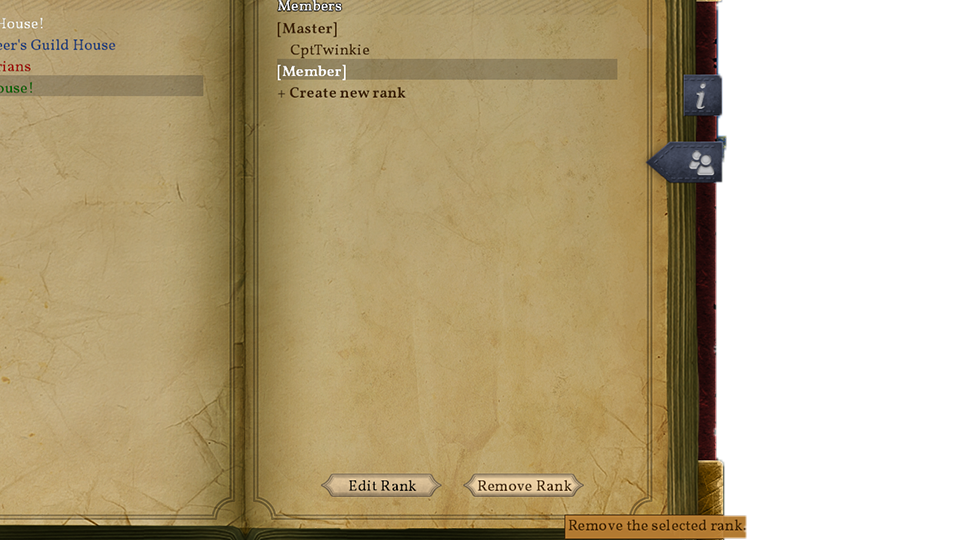
Removing a Rank is the easiest action. Select the Rank in the Members list and click Remove Rank.
The lowest and highest ranks, Master and Member by default, cannot be removed. If you wish to change those Ranks then you may do so by editing them.
Promotions
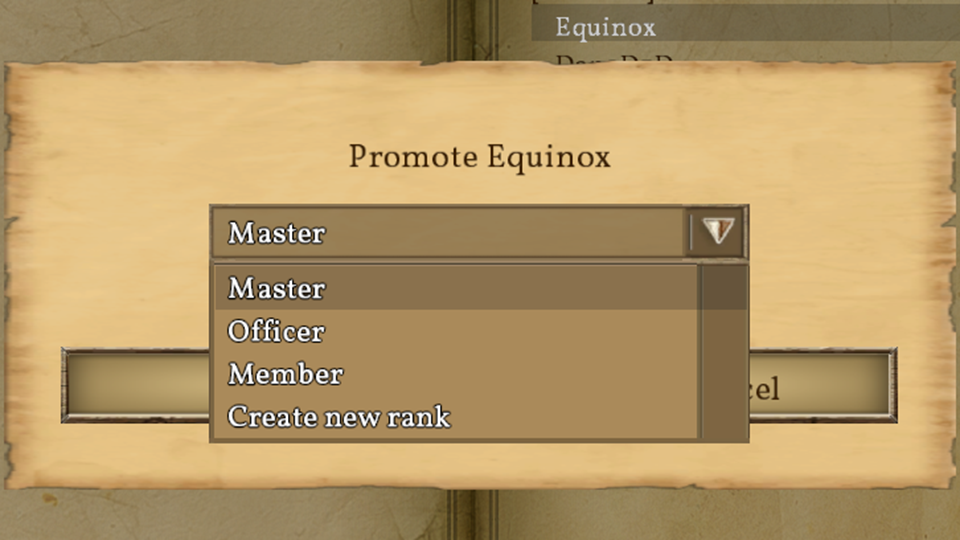
Promotions are how members are assigned to different Ranks. The founder of the house is automatically assigned to the Rank of Master. All other members are added to the Rank of Member when they are added to the House.
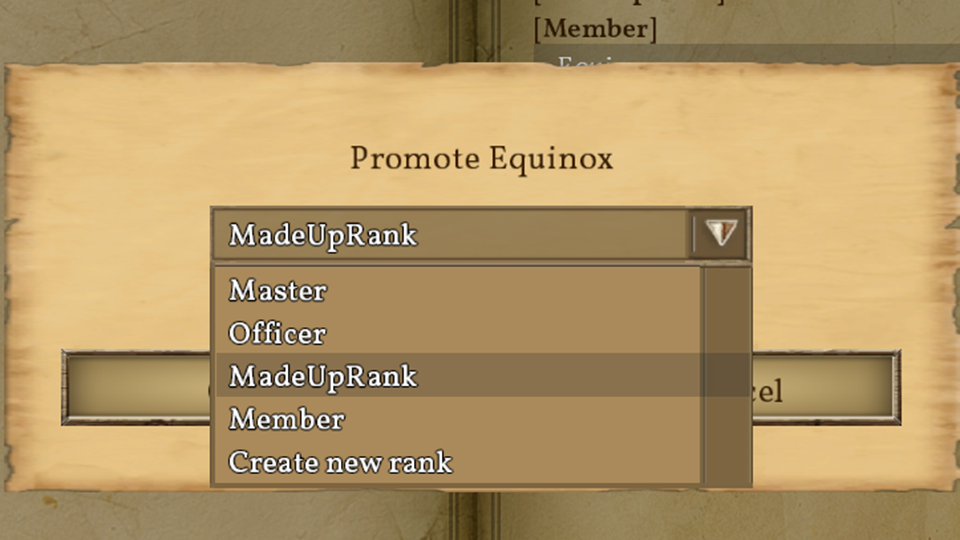
Click on a member in the members list and click Promote to change a member's Rank.
File:House 11Promotions 1Promote.png
Select the new Rank and click Ok.
The member will move under the new Rank in the members list.
File:House 11Promotions 3Complete.png
House Administration
Leaving House as Master
File:House 12MasterLeaving 1TryToLeave.png
File:House 12MasterLeaving 2Confirm.png

File:House 12MasterLeaving 5NotMasterAnymore.png
File:House 12MasterLeaving 1TryToLeave.png
File:House 12MasterLeaving 7Confirm.png
File:House 12MasterLeaving 8Complete.png
Promoting in Other Houses - ADMIN ONLY
File:House 13AdminPromotion 2SelectMemberAndPromote.png
Removing Other Houses - ADMIN ONLY
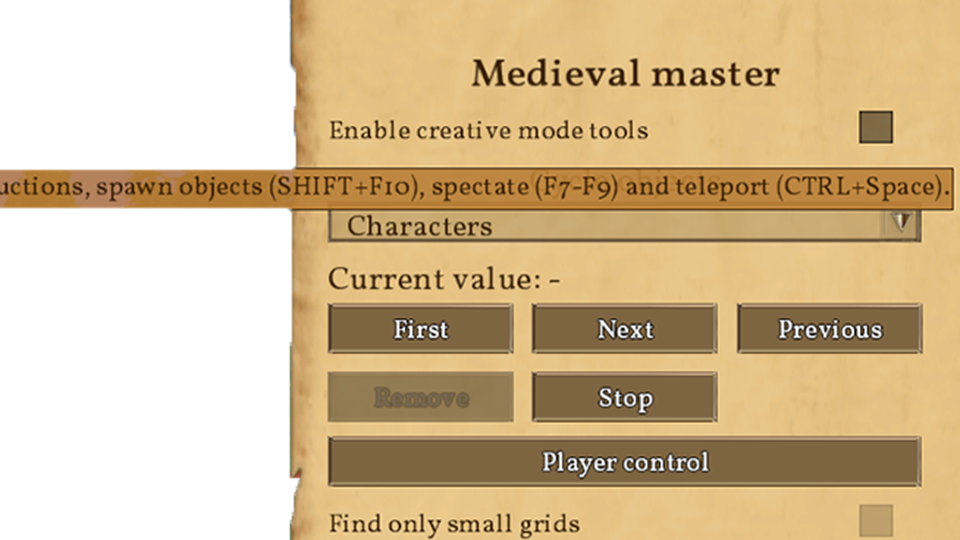
File:House 14AdminMaster 1MedievalMaster.png
File:House 14AdminMaster 2LeaveOwnHouse.png
File:House 14AdminMaster 3Confirm.png
File:House 14AdminMaster 5JoinHouse.png
File:House 14AdminMaster 6Confirm.png
File:House 14AdminMaster 7JoinedNoApprovalNeeded.png
File:House 14AdminMaster 8PromoteSelfToMaster.png
File:House 14AdminMaster 9Confirm.png
File:House 14AdminMaster 10MasterOfHouse.png
